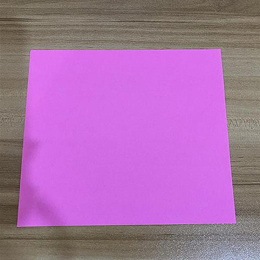
Start with a square piece of paper. Place the colored side facing down.
正方形の折り紙を用意し、色のついている面を下にして置きます。
Start with a square piece of paper. Place the colored side facing down.
正方形の折り紙を用意し、色のついている面を下にして置きます。
Fold the paper in half diagonally to form a triangle.
紙を対角線に沿って半分に折り、三角形を作ります。
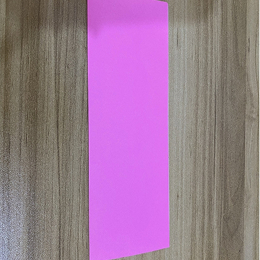
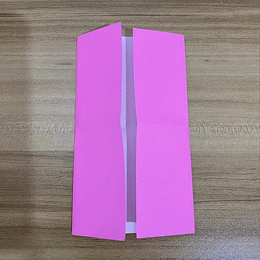
Fold the triangle in half again to make a smaller triangle.
三角形をもう一度半分に折り、小さな三角形を作ります。
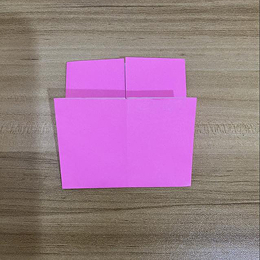
Open one flap and flatten it carefully to create a square shape.
片方のフラップを開き、丁寧につぶして四角形にします。
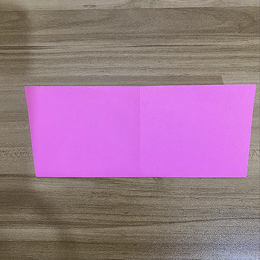
Turn the paper over and repeat the same step on the other side.
紙を裏返し、反対側も同じように折ります。
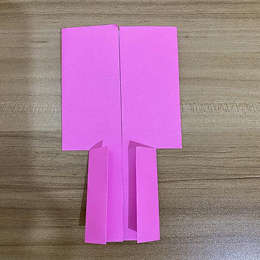
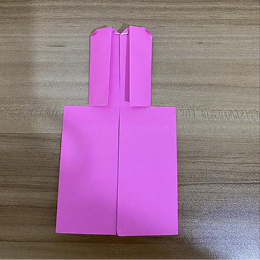
Fold the top corners down to shape the ears.
上の角を下に折り、耳の形を作ります。
Fold the bottom corner slightly upward to form the face.
下の角を少し上に折り、顔の部分を作ります。
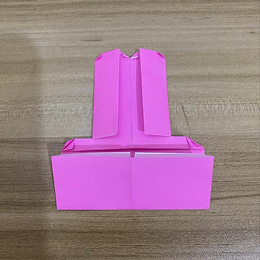
Fold the side edges inward to make the head rounder.
両側の端を内側に折り、頭を丸く整えます。
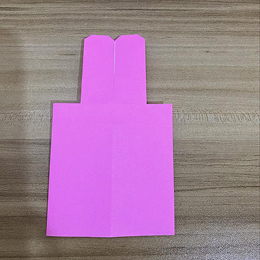
Adjust the folds to refine the shape of the ears.
折り目を調整して、耳の形を整えます。
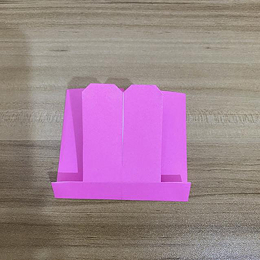
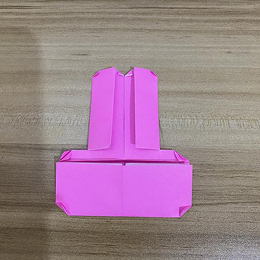
Fold small parts of the ears slightly forward for detail.
耳の一部を少し前に折り、細かい部分を作ります。

Gently open the lower part to add dimension to the face.
下の部分をやさしく開いて、顔に立体感を出します。
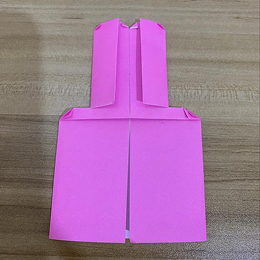
Make small folds to shape the cheeks.
小さく折って、ほっぺたの形を作ります。
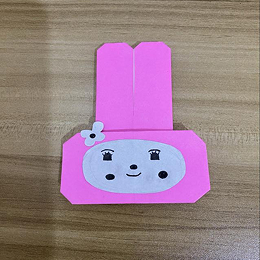
Draw the eyes, nose, and mouth using a pen or marker.
ペンやマーカーで目、鼻、口を描きます。
Your Origami My Melody is now complete!
折り紙のマイメロディの完成です!