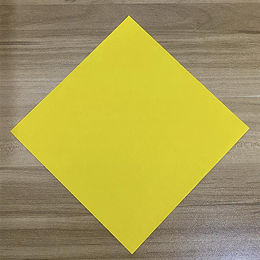
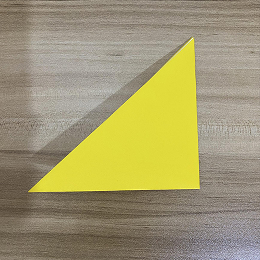
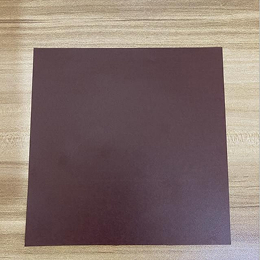
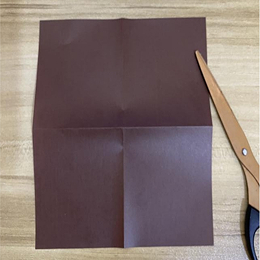
Start with a square sheet of yellow origami paper. Place it on a flat surface with the colored side facing down.
黄色の正方形の折り紙を用意します。色の面を下にして平らな場所に置きます。
Start with a square sheet of yellow origami paper. Place it on a flat surface with the colored side facing down.
黄色の正方形の折り紙を用意します。色の面を下にして平らな場所に置きます。
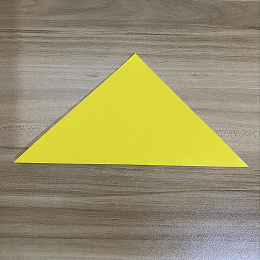
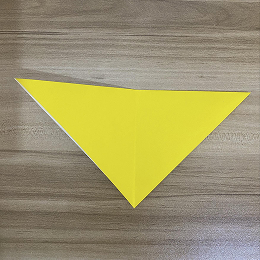
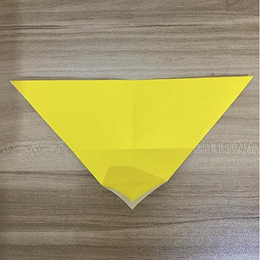
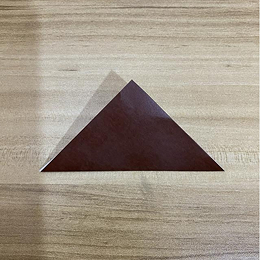
Fold the paper in half diagonally to form a triangle. Crease firmly, then unfold.
紙を対角線に沿って半分に折り、三角形を作ります。しっかり折り目をつけてから開きます。
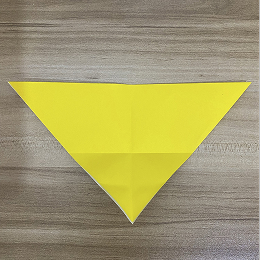
Fold the paper diagonally in the opposite direction. Crease well and unfold again.
反対側の対角線でも同じように折ります。しっかり折り目をつけてから再び開きます。
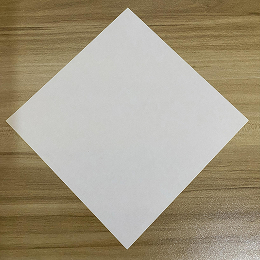
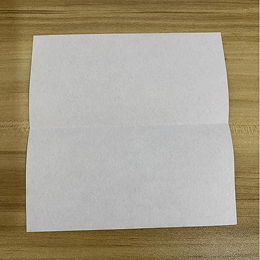
Turn the paper over to the colored side.
紙を裏返して、色の面を上にします。
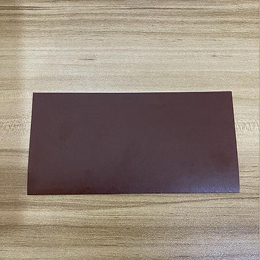
Fold the paper in half horizontally. Crease and unfold.
紙を横に半分に折ります。折り目をつけてから開きます。
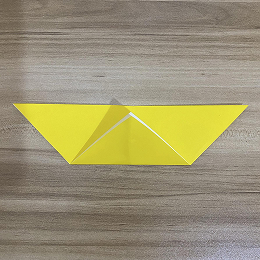
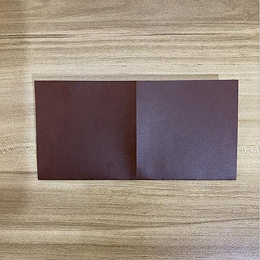
Fold the paper in half vertically. Crease and unfold.
紙を縦に半分に折ります。折り目をつけてから開きます。
Bring all four corners toward the center point.
四つの角を中央の点に向かって折ります。
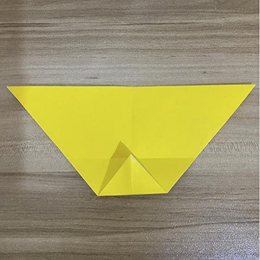
Turn the paper over.
紙を裏返します。
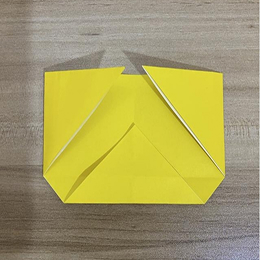
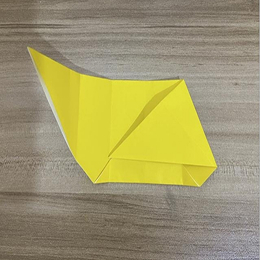
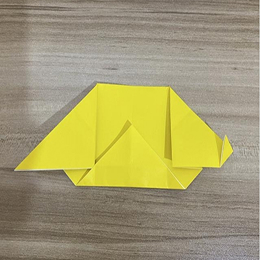
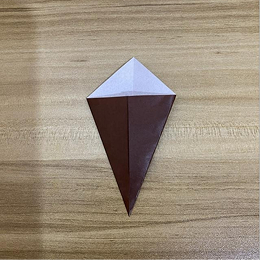
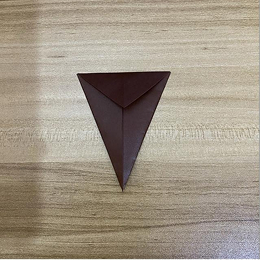
Fold the bottom corner up to the center.
下の角を中央に向かって折ります。
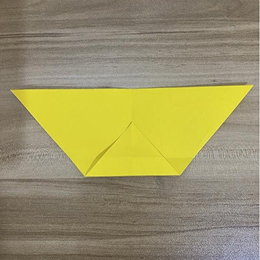
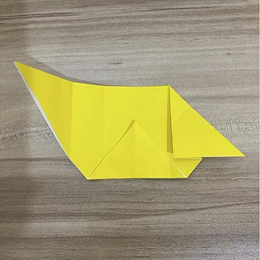
Fold the top corner down to the center.
上の角を中央に向かって折ります。
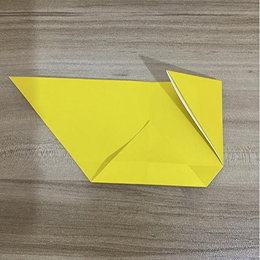
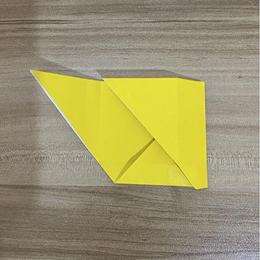
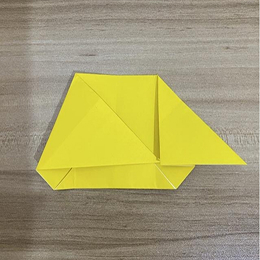
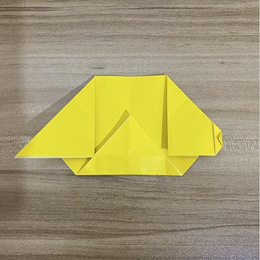
Fold the left corner toward the center.
左の角を中央に向かって折ります。
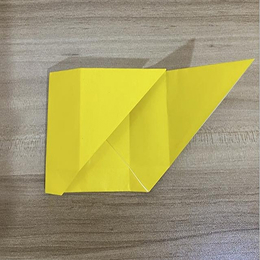
Fold the right corner toward the center.
右の角を中央に向かって折ります。

Turn the paper over again.
もう一度紙を裏返します。
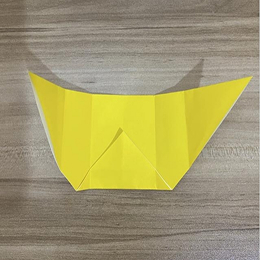
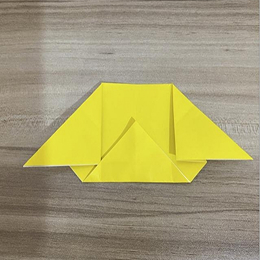
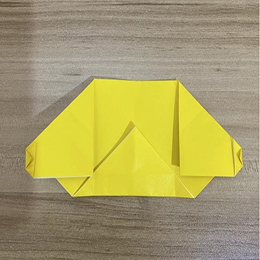
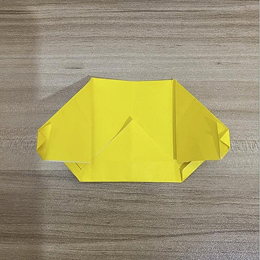
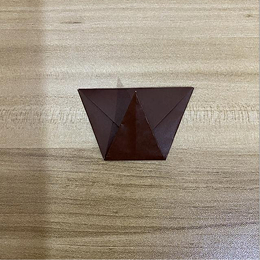
Fold the top edge slightly downward to form the head shape.
頭の形を作るために、上の辺を少し下に折ります。
Fold the bottom edge slightly upward.
下の辺を少し上に折ります。
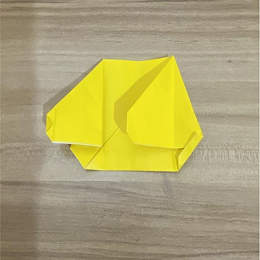
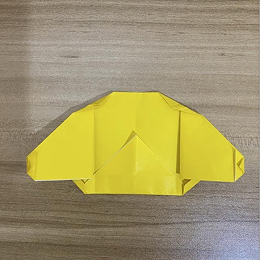
Fold the top left corner inward to round the head.
頭を丸くするために、左上の角を内側に折ります。
Fold the top right corner inward in the same way.
同じように右上の角も内側に折ります。
Fold the bottom left corner slightly inward.
左下の角を少し内側に折ります。
Fold the bottom right corner slightly inward.
右下の角を少し内側に折ります。
Turn the paper over to check the front side.
表側を確認するために紙を裏返します。
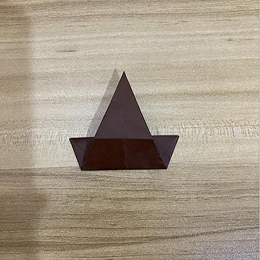
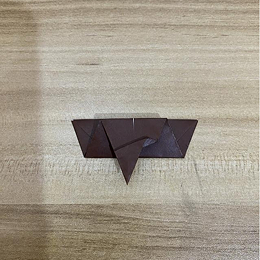
Fold the top part down slightly to form the beret hat.
ベレー帽を作るために、上の部分を少し下に折ります。
Adjust the fold to shape the hat evenly.
帽子の形が整うように調整します。
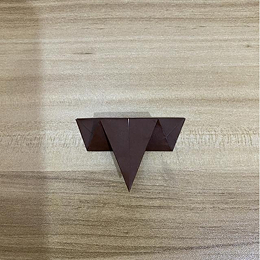
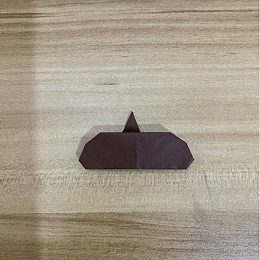
Fold small sections on both sides to shape the ears.
耳を作るために、両側を少し折ります。

Press all folds firmly to secure the shape.
形を固定するために、すべての折り目をしっかり押さえます。
Turn the paper over carefully.
丁寧に紙を裏返します。
Slightly fold the left side inward to refine the shape.
形を整えるために、左側を少し内側に折ります。
Slightly fold the right side inward as well.
右側も同じように少し内側に折ります。
Adjust the top corners again if needed.
必要に応じて上の角をもう一度調整します。
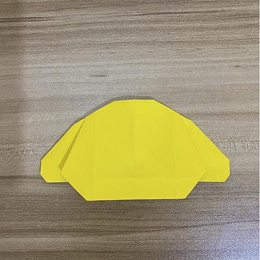
Flatten the paper gently.
やさしく紙を平らにします。
Check that the head shape is round and even.
頭の形が丸く均等になっているか確認します。
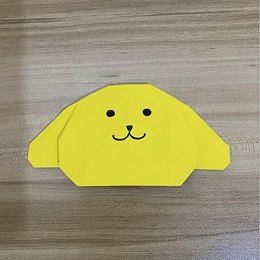
Draw the eyes using a black pen.
黒いペンで目を描きます。
Draw a small oval nose in the center.
中央に小さな楕円形の鼻を描きます。
Add a small mouth below the nose.
鼻の下に小さな口を描きます。
Color the beret hat brown.
ベレー帽を茶色に塗ります。
Add rosy cheeks if desired.
必要に応じてほっぺに色を付けます。
Outline the face gently for clarity.
はっきりさせるために顔の輪郭をなぞります。
Press all folds one last time.
最後にもう一度すべての折り目を押さえます。
Smooth out any uneven edges.
不均一な部分を整えます。
Make final adjustments to the ears and hat.
耳と帽子の最終調整をします。
Ensure the figure stands flat on the surface.
平らな場所で安定しているか確認します。
Check that all details are complete.
すべての細部が完成しているか確認します。

Clean any extra pencil marks if needed.
必要であれば余分な下書きを消します。
Add extra decorations if desired.
必要に応じて追加の飾りを付けます。
Let the paper rest flat to maintain its shape.
形を保つために平らな状態で置いておきます。
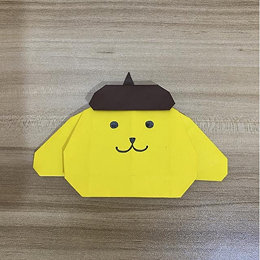
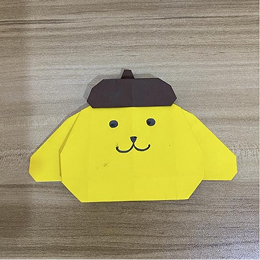
Your Pompompurin origami is now complete!
ポムポムプリンの折り紙が完成しました!