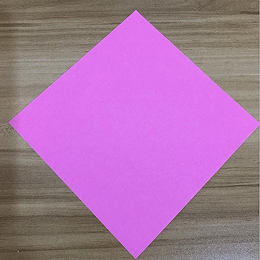
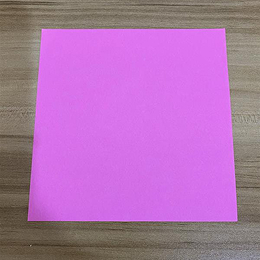
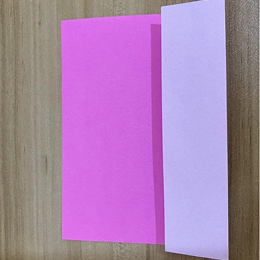
Start with a square sheet of paper, colored side facing down.
正方形の折り紙を、色のついている面を下にして置きます。
Start with a square sheet of paper, colored side facing down.
正方形の折り紙を、色のついている面を下にして置きます。

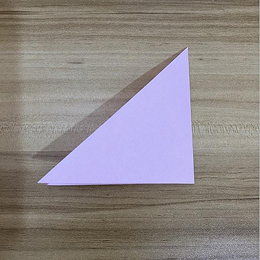
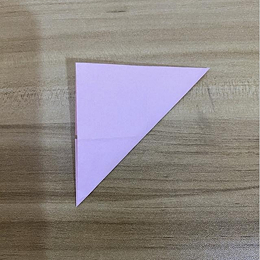
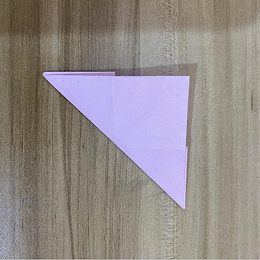
Fold the paper diagonally to form a triangle. Crease well.
対角線に沿って三角形になるように折り、しっかり折り目をつけます。
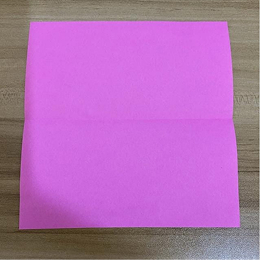
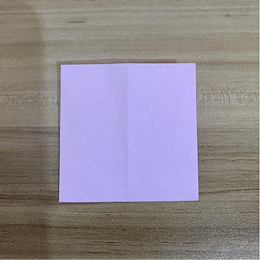
Unfold the paper back to a square.
正方形に戻るように広げます。

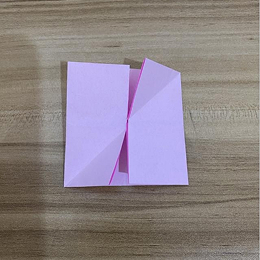
Fold diagonally in the opposite direction.
反対側の対角線に沿って折ります。
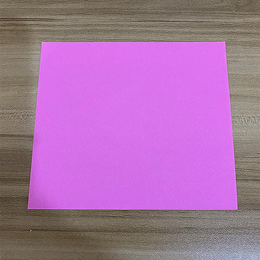
Crease firmly and unfold again.
しっかり折り目をつけてから、もう一度広げます。
Turn the paper over to the colored side.
紙を裏返して、色の面を上にします。
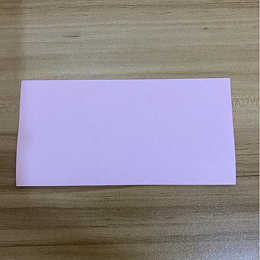
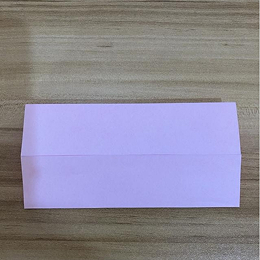
Fold the paper in half horizontally.
横半分に折ります。
Crease well and unfold.
しっかり折り目をつけてから広げます。
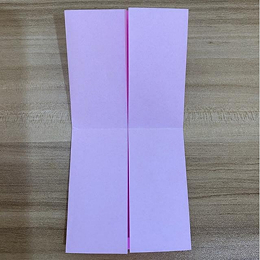
Fold the paper in half vertically.
縦半分に折ります。
Crease and unfold again.
折り目をつけてから広げます。
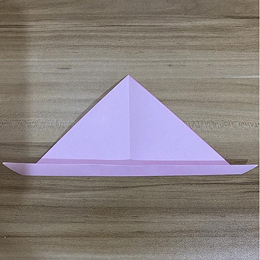
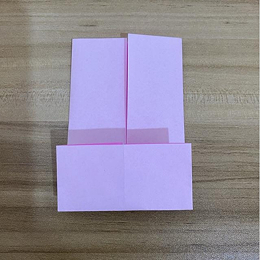
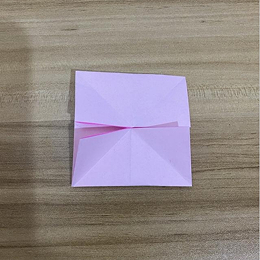
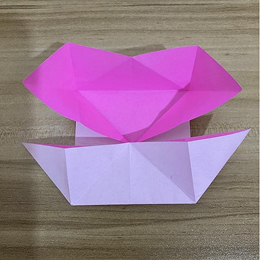
Bring all four corners toward the center.
四つの角を中央に集めます。
Collapse along the creases to form a smaller square base.
折り目に沿ってたたみ、小さな正方形の土台を作ります。
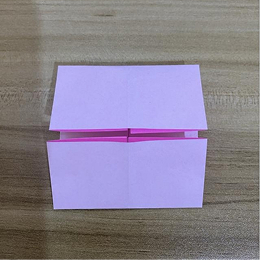
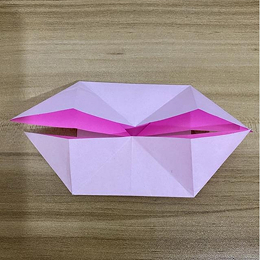
Flatten the model carefully.
丁寧に平らにします。
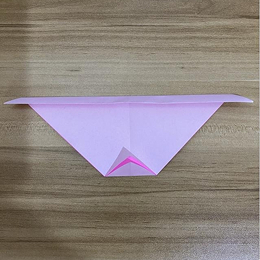
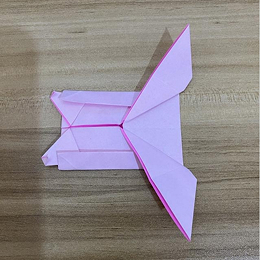
Position the model with one corner at the top.
一つの角が上になるように置きます。
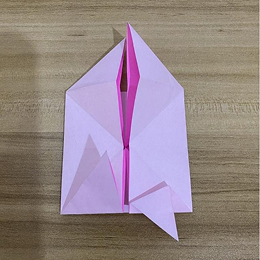
Fold the top corner slightly downward to shape the head.
上の角を少し下に折り、頭の形を作ります。
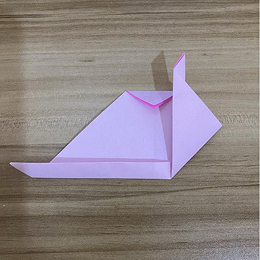
Fold the bottom corner slightly upward.
下の角を少し上に折ります。
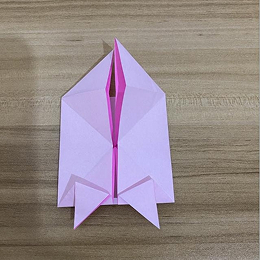
Turn the model over.
モデルを裏返します。
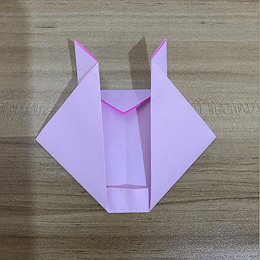
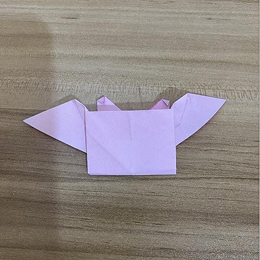
Fold the left corner inward slightly to form an ear.
左の角を少し内側に折り、耳を作ります。
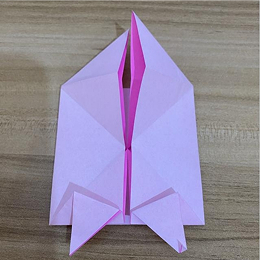
Repeat on the right corner.
右側も同じように折ります。
Repeat on the right corner.
右側も同じように折ります。
Fold the bottom edge upward slightly to shape the face.
下の辺を少し上に折り、顔の形を整えます。
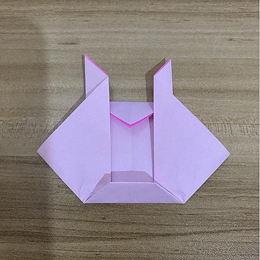
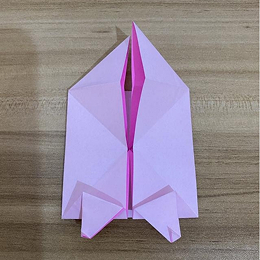
Turn the model over again.
もう一度裏返します。
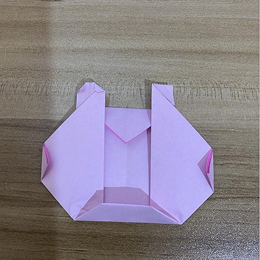
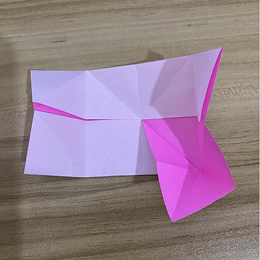
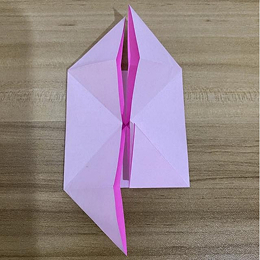
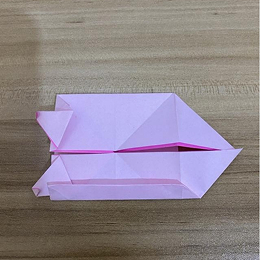
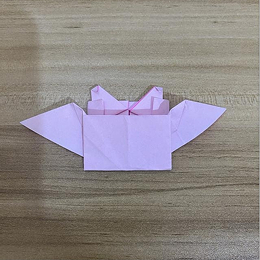
Open the lower flap slightly.
下のフラップを少し開きます。
Fold both sides inward to narrow the body.
左右を内側に折り、体を細くします。
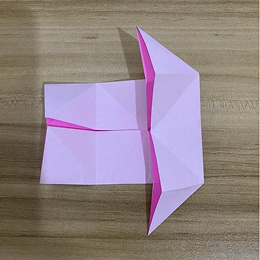
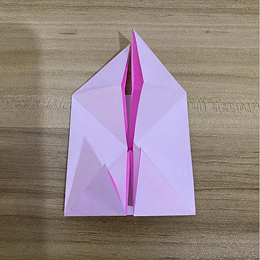
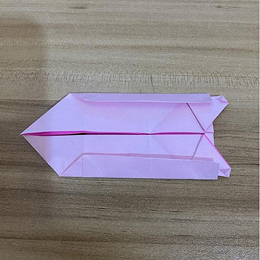
Press firmly to secure the folds.
しっかり押さえて固定します。
Fold the bottom tip upward slightly.
下の先端を少し上に折ります。
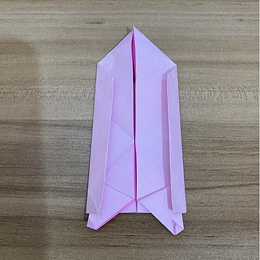
Flatten the model carefully.
丁寧に平らにします。。
Turn the model over.
裏返します。
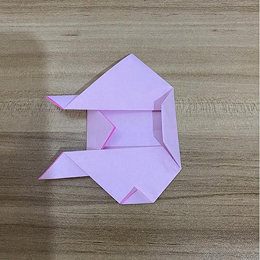
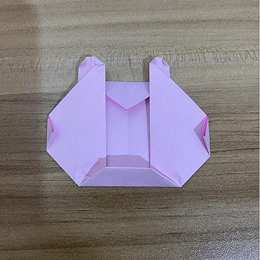
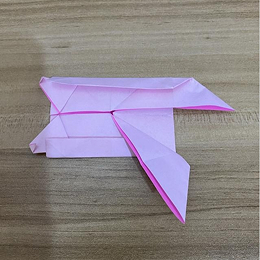
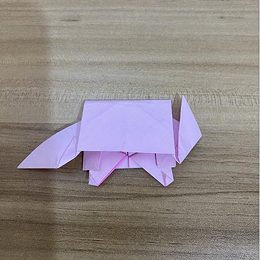
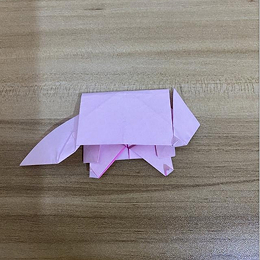
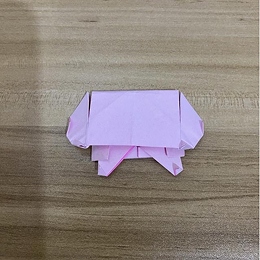
Fold the left side inward to form the left arm.
左側を内側に折り、左腕を作ります。
Fold the right side inward to form the right arm.
右側を内側に折り、右腕を作ります。
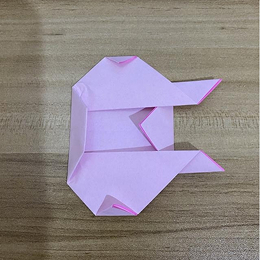
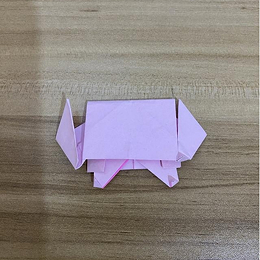
Adjust both arms symmetrically.
両腕を左右対称に整えます。
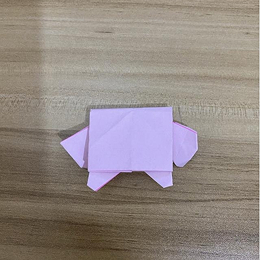
Fold the bottom corner upward slightly.
下の角を少し上に折ります。

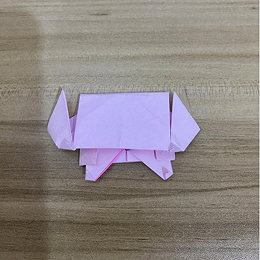
Flatten the base to improve stability.
安定させるために底を平らにします。
Turn the model over.
裏返します。
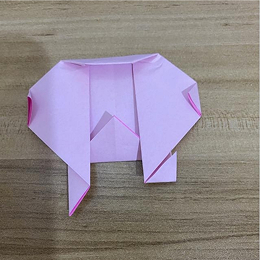
Gently open the top layer near the ears.
耳の近くの上の層を少し開きます。
Refold neatly to keep the ear shape.
耳の形を保つようにきれいに折り直します。
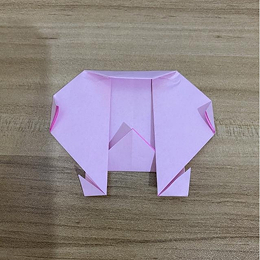
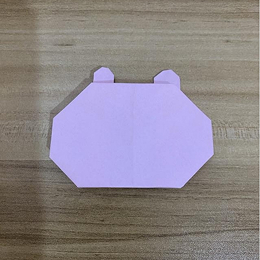
Fold small portions of the ear tips backward.
耳の先を少し後ろに折ります。
Press gently to secure the shape.
やさしく押さえて固定します。
Shape the cheeks by folding tiny edges inward.
小さな部分を内側に折り、ほっぺを作ります。
Turn the model over.
裏返します。
Refine the chin by folding it slightly inward.
あごを少し内側に折り、整えます。
Press firmly to hold the shape.
しっかり押さえます。
Adjust the ears again if needed.
必要に応じて耳を調整します。
Flatten all folds carefully.
すべての折り目を丁寧に整えます。
Open the lower flap slightly for balance.
バランスを取るために下のフラップを少し開きます。
Press the base flat so it can stand.
自立できるように底を平らに押さえます。
Turn the model to the front side.
正面に向けます。
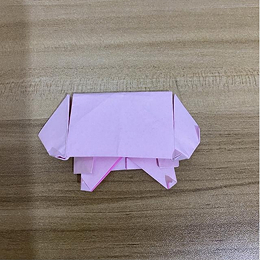
Check the overall shape and adjust if necessary.
全体の形を確認し、必要なら調整します。
Flatten the entire model once more.
もう一度全体を平らに整えます。
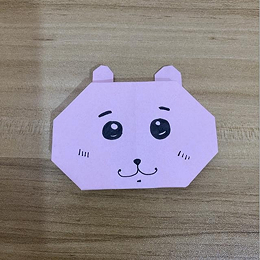
Draw the eyes using a black pen.
黒いペンで目を描きます。
Draw a small nose between the eyes.
目の間に小さな鼻を描きます。
Add a small smiling mouth below the nose.
鼻の下に小さな笑顔の口を描きます。
Color the cheeks lightly with pink.
ピンク色でほっぺを薄く塗ります。
Outline the facial features gently.
顔のパーツをやさしくなぞります。
Make final adjustments to the folds.
最後に折り目を整えます。
Press the model carefully to secure everything.
全体を丁寧に押さえて固定します。
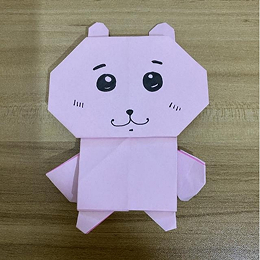
Your origami is complete. Display and enjoy your finished work.
折り紙が完成しました。完成した作品を飾って楽しみましょう。