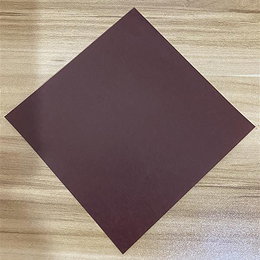
Prepare one square sheet of origami paper. Place it in a diamond shape (with a corner pointing up and down) with the colored side facing down.
正方形の折り紙を1枚用意します。色のついている面を下にして、ひし形(角が上下にくる形)に置きます。
Prepare one square sheet of origami paper. Place it in a diamond shape (with a corner pointing up and down) with the colored side facing down.
正方形の折り紙を1枚用意します。色のついている面を下にして、ひし形(角が上下にくる形)に置きます。
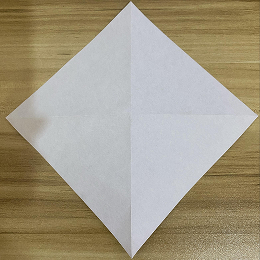
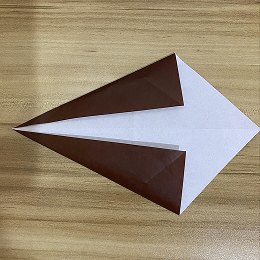
Fold the bottom corner up to the top corner to form a triangle. Crease firmly.
下の角を上の角に合わせて折り、三角形を作ります。しっかりと折り目をつけます。
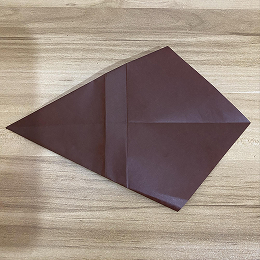
Fold the right corner of the triangle toward the center line.
三角形の右の角を中心線に向かって折ります。

Fold the left corner toward the center line in the same way. The shape will become narrower.
左の角も同じように中心線に向かって折ります。形が細くなります。
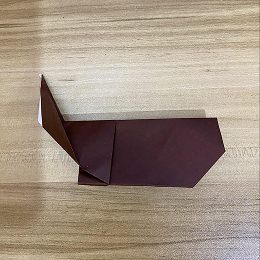
Fold the top layer slightly inward to shape the body.
上の1枚を少し内側に折り、体の形を整えます。
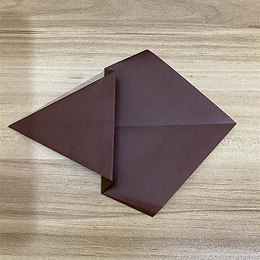
Repeat the same fold on the opposite side to keep it symmetrical.
反対側も同じように折り、左右対称になるようにします。
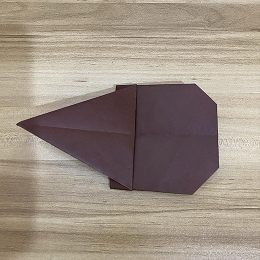
Fold the top point downward to create the beetle’s head.
上の先端を下に折り、カブトムシの頭を作ります。
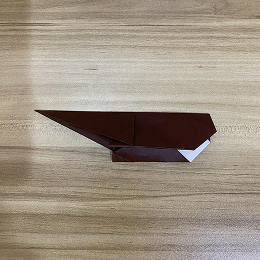
Lift a small section at the front and fold it upward to form the horn.
前の部分を少し持ち上げて上に折り、角(つの)を作ります。
Fold the tip of the horn slightly backward to adjust its shape.
角の先を少し後ろに折って形を整えます。

Fold a small part at the back to form the tail.
後ろの部分を少し折り、尾の形を作ります。

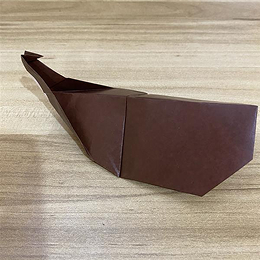
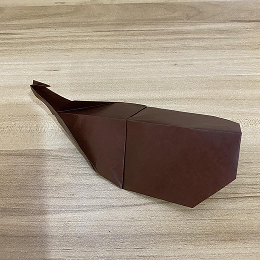
Gently open and adjust the body to give it a three-dimensional shape. Your origami beetle is complete.
全体をやさしく広げて立体的に整えたら、完成です。