Start with a square piece of origami paper. I am using a 7×7-inch sheet of origami paper.
正方形の折り紙を用意します。今回は 7×7 インチの折り紙を使っています。
Start with a square piece of origami paper. I am using a 7×7-inch sheet of origami paper.
正方形の折り紙を用意します。今回は 7×7 インチの折り紙を使っています。
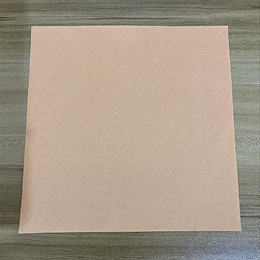
Face the lighter side upward if you are using two-sided color paper.
両面カラーの折り紙を使う場合は、色の薄い面を上に向けて置きます。

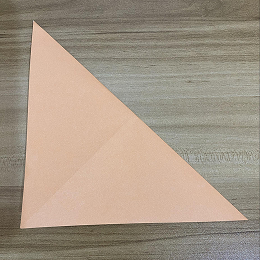
Fold the upper left corner to the lower right corner.
左上の角を右下の角に折ります。
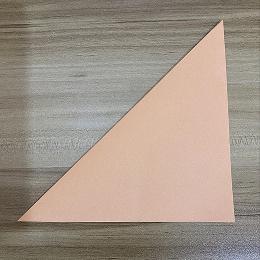
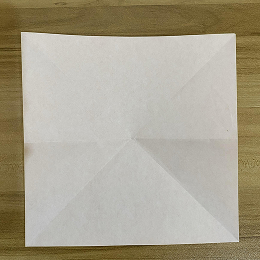
Unfold. You now have a diagonal crease where the dotted gray line goes.
開きます。点線の灰色のラインのところに、斜めの折り目がついています。
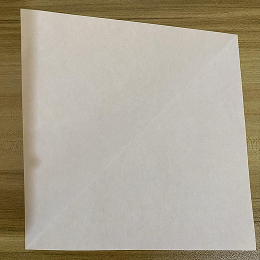
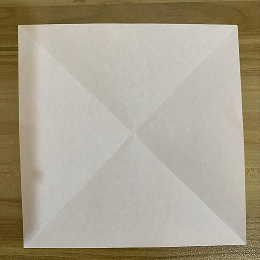
Fold the upper right corner to the lower left corner.
右上の角を左下の角に折ります。
Unfold.
開きます。
Fold the top half back.
上半分を後ろに折ります。
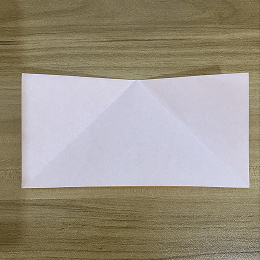
Unfold.
開きます。
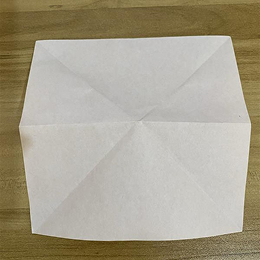
Poke the center with your finger so that the center pops in.
指で中央を押して、中心がへこむようにします。
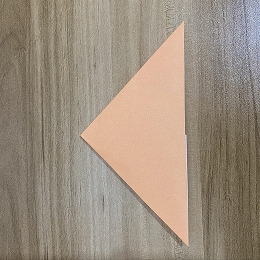
Bring the left and right sides together so that the paper collapses into a triangle.
左右の端を合わせて、紙を三角形にたたみます。

Press firmly to flatten the triangle.
三角形をしっかり押して平らにします。

Rotate the triangle 90° to the left (counter-clockwise).
三角形を左に90°(反時計回り)回します。
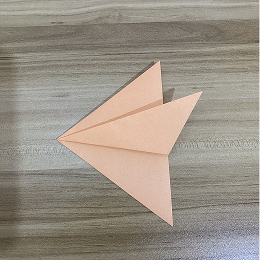
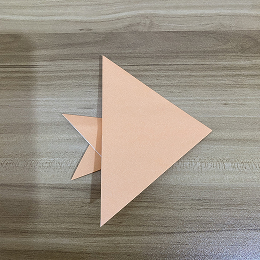
Fold the bottom corner up a little past the center.
下の角を中央より少し上に折ります。
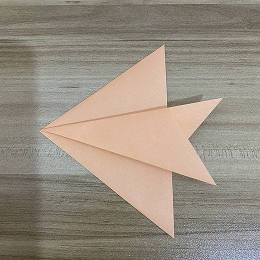
Fold the top flap over the bottom.
上のはねを下に重ねて折ります。
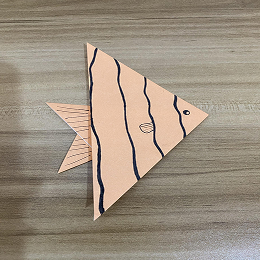
Turn the fish over, and you’re done.
魚を裏返せば、完成です。
Draw the eye and some stripes to make it look nice!
目や模様を描いて、かわいく仕上げましょう!