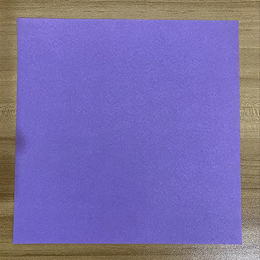
Start with a square sheet of origami paper. I am using a 7 × 7 inch sheet of origami paper.
正方形の折り紙を用意してください。ここでは、7×7インチの折り紙を使っています。
Start with a square sheet of origami paper. I am using a 7 × 7 inch sheet of origami paper.
正方形の折り紙を用意してください。ここでは、7×7インチの折り紙を使っています。
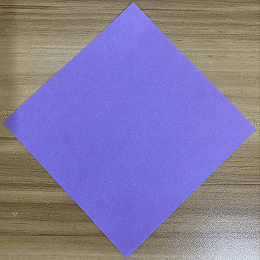
Rotate the sheet diagonally, as shown.
図のように、紙を斜めに回転させます。
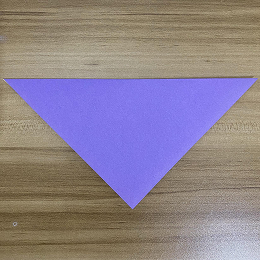
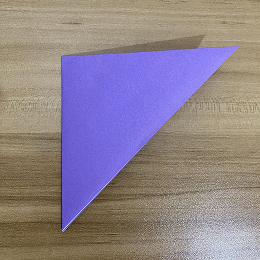
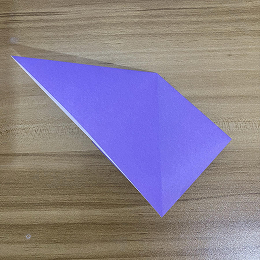
Fold the paper in half by bringing the top corner down to the bottom corner.
上の角を下の角に合わせて、紙を半分に折ります。
Now fold the triangle in half by bringing the left corner over to the right corner.
次に、左の角を右の角に合わせて、三角形を半分に折ります。
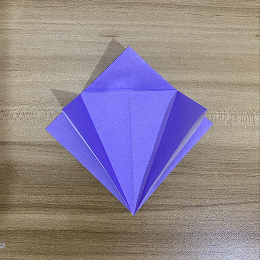
Open the top flap and spread it out.
上のフラップを開いて、広げます。
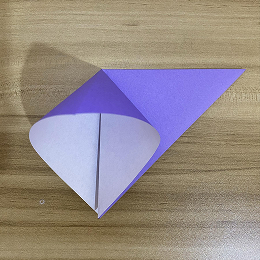
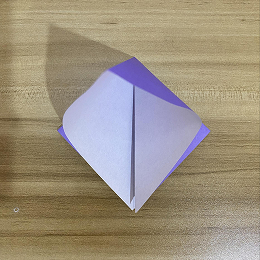
Now crease the left and right sides so you can flatten the flap down to meet the bottom corner.
次に、左右に折り目をつけて、下の角に合うようにフラップを平らに折りつぶします。
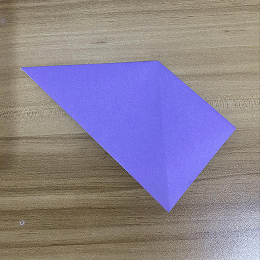
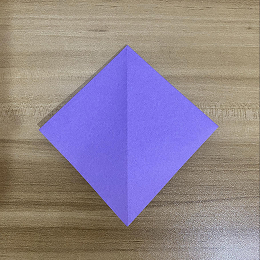
Turn the model over.
モデルを裏返します。
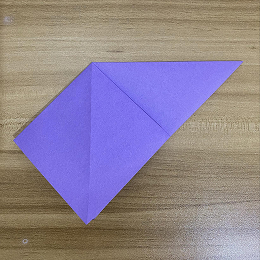
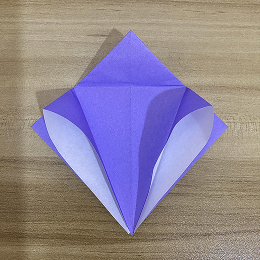
To repeat what we did earlier, lift the left flap and open it from both the left and right sides.
先ほどと同じように、左のフラップを持ち上げ、左右から開きます。
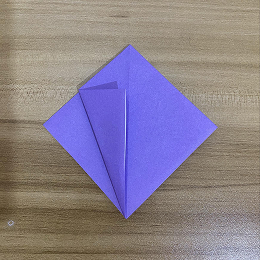
Crease the sides down so that the corner meets the bottom corner of the figure.
角が図形の下の角に合うように、左右を折り下げて折り目をつけます。
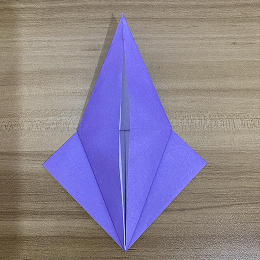
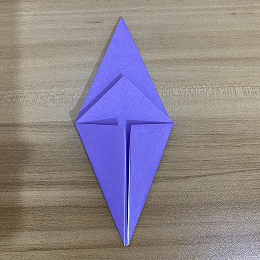
Take the top layer on the left side and fold it to meet the center line.
左側の上の層を取り、中央の線に合わせて折ります。
Now take the top layer on the right side and fold it to meet the center line.
次に、右側の上の層を取り、中央の線に合わせて折ります。
Take the top layer on the left side and fold it to meet the center line.
左側の上の層を取り、中央の線に合わせて折ります。

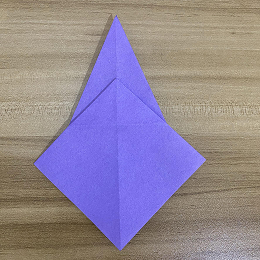
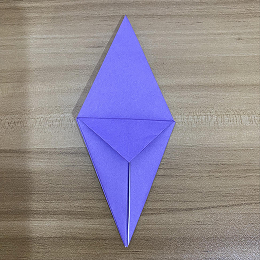
Now fold the top triangle down.
次に、上の三角形を下に折ります。

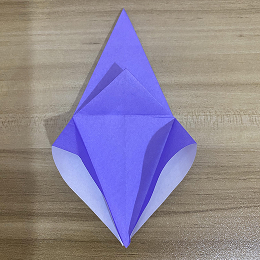
Unfold the top triangle and both sides.
上の三角形と左右の部分を開きます。
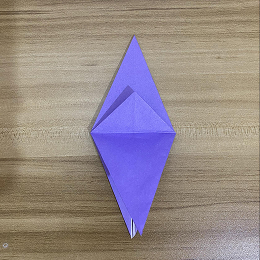
Open the top layer, using the creases as a guide.
上の層を開き、折り目を目安にします。
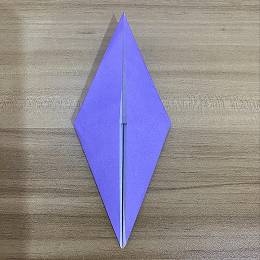
Fold the left and right sides in to meet at the center.
左右の側面を中央に向かって折ります。

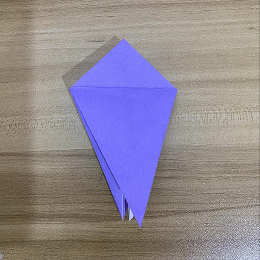
Flatten the fold well.
折り目をしっかりと平らにします。
Turn the model over.
モデルを裏返します。
Fold the left and right sides in to meet at the center.
左右の側面を中央に向かって折ります。
Fold the top triangle down.
上の三角形を下に折ります。
Unfold, then start lifting the top layer upwards.
折り目を戻し、上の層を上に持ち上げ始めます。
Lift it all the way up, using the creases as a guide, and fold the left and right sides in to meet at the center.
折り目を目安にして上まで持ち上げ、左右の側面を中央に向かって折ります。
Now fold that layer back down.
次に、その層を元に戻して折ります。
Turn the model over.
モデルを裏返します。

Fold that layer down as well.
その層も下に折ります。

Take the right side of the top layer and fold it in to meet the center.
上の層の右側を取り、中央に向かって折ります。

Take the left side of the top layer and fold it in to meet the center.
上の層の左側を取り、中央に向かって折ります。

Turn the model over.
モデルを裏返します。
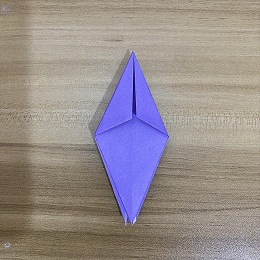
Take the left and right sides of the top layer and fold them in to meet at the center.
上の層の左右の側面を取り、中央に向かって折ります。
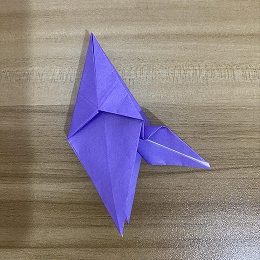
Now we’ll make the wings. Pull out the right flap from inside the figure.
次に、羽を作ります。図形の内側から右のフラップを引き出します。
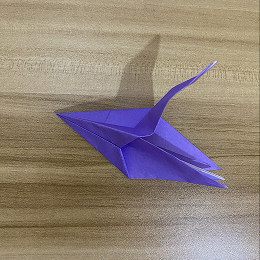
Now twist it, making sure to twist the rear side downwards.
次にひねります。後ろ側が下向きになるようにひねることを確認してください。
Flatten the fold well.
折り目をしっかりと平らにします。

Make the wings on the left side as well.
左側の羽も作ります。
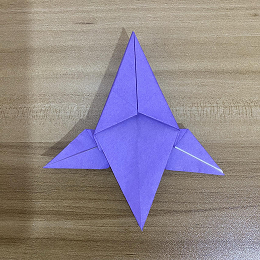
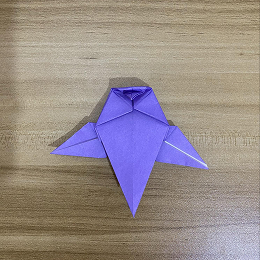
Fold a portion of the top triangle down, but be careful not to fold it past the corner where the flaps meet.
上の三角形の一部を折り下げますが、フラップが合わさる角を越えないように注意してください。
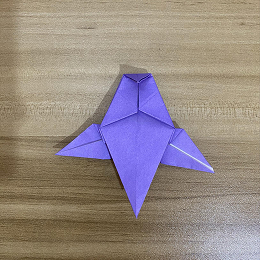
Fold most of it back up. Notice that I did not completely unfold it; I left about 1/4 down and folded only 3/4 back up.
ほとんどの部分を再び折り上げます。完全には開かず、約1/4は下のままにして、残りの3/4だけを折り上げました。
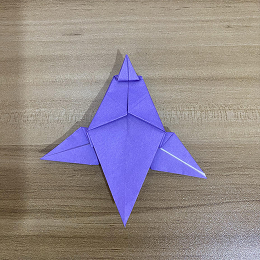
Now fold the entire triangle down, including the 1/4 portion.
今度は、1/4の部分も含めて三角形全体を下に折ります。
For the feet, we’ll need scissors. Take the bottom of the top layer and make a small cut as shown.
足を作るために、ハサミが必要です。上の層の下部分を取り、図のように小さく切ります。
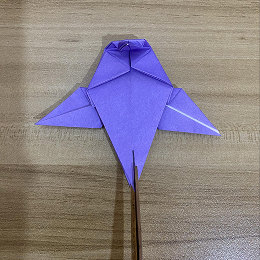
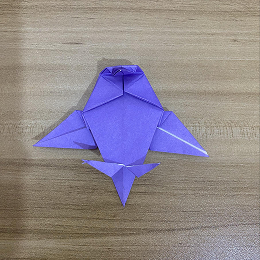
Fold the newly created flaps up. Voila!
新しく作ったフラップを上に折ります。できあがり!