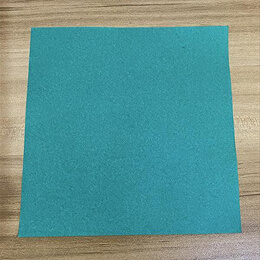
Start with a square sheet of origami paper. I am using a 7×7-inch sheet.
正方形の折り紙を用意します。今回は 7×7 インチの折り紙を使っています。
Start with a square sheet of origami paper. I am using a 7×7-inch sheet.
正方形の折り紙を用意します。今回は 7×7 インチの折り紙を使っています。
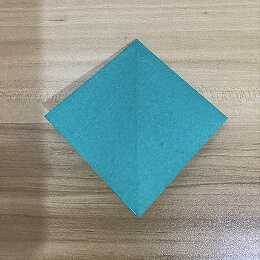
Rotate the paper so it looks like a diamond.
折り紙をひし形になるように回します。

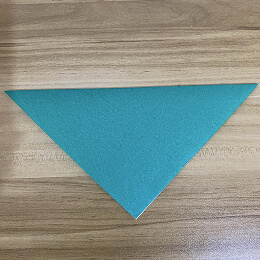
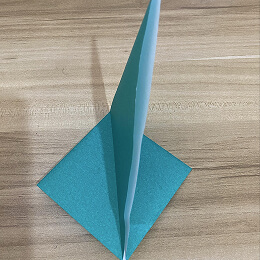
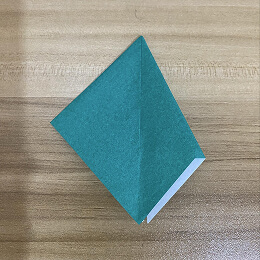
Fold the paper in half so that the top corner meets the bottom corner.
折り紙を半分に折り、上の角が下の角に合うようにします。
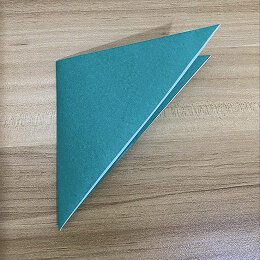
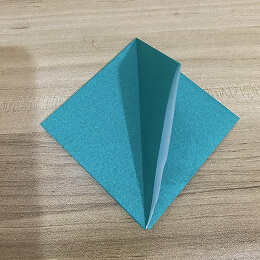
Fold in half again so that the left corner meets the right corner.
もう一度半分に折り、左の角が右の角に合うようにします。
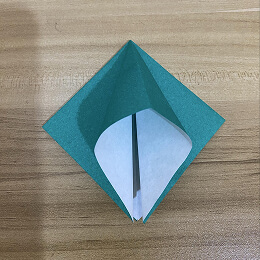
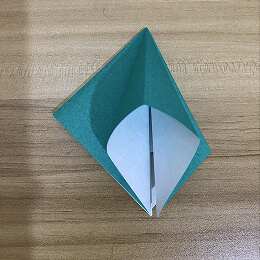
We will now perform a squash fold. Do this by opening the top flap.
ここでつぶし折りを行います。上のはねを開いて行ってください。

Bring the right corner to the bottom corner.
右の角を下の角に合わせます。

Crease the sides as you go.
折り目をつけながら折ります。

Turn the model over.
作品を裏返します。
Now perform another squash fold on the left flap. Do this by lifting the left flap up vertically.
次に、左のはねでもう一度つぶし折りを行います。左のはねを垂直に持ち上げて折ってください。
Open the flap until its corner meets the bottom corner.
はねを開き、角が下の角に合うまで広げます。
Ready for another squash fold? Lift the right flap up vertically.
もう一度つぶし折りの準備はできましたか?右のはねを垂直に持ち上げて折ります。
Open the flap.
はねを開きます。
Squash it down.
つぶして折ります。
Fold the squashed left flap over to the right.
つぶした左のはねを右側に折ります。

Fold the left flap to the right.
左のはねを右に折ります。

Lift that flap up vertically and open it up.
そのはねを垂直に持ち上げて、開きます。

Squash it down.
つぶして折ります。

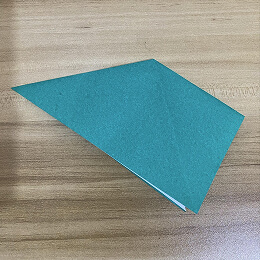
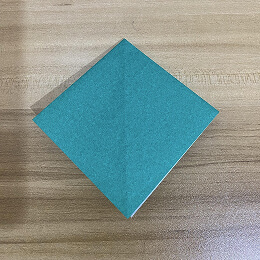
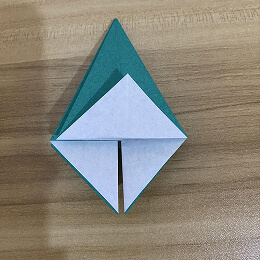
Fold the squashed right flap over to the left. Your figure should now look like this.
つぶした右のはねを左側に折ります。これで作品はこのような形になります。
Turn over.
裏返します。
Now squash the right flap. To do that, fold the flap to the left.
次に右のはねをつぶします。そのために、はねを左に折ります。
Lift the flap up vertically, and open it.
はねを垂直に持ち上げて、開きます。
Squash it down.
つぶして折ります。
Fold the squashed left flap over to the right.
つぶした左のはねを右側に折ります。
Squash the remaining flap. To do that, lift it up.
残っているはねをつぶします。そのために、はねを持ち上げます。

Open the flap.
はねを開きます。

Squash it down.
つぶして折ります。
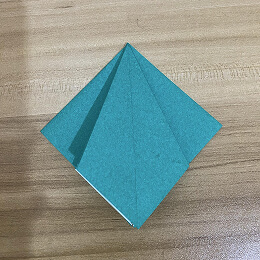
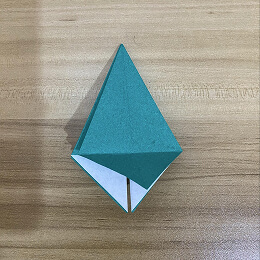
Fold the squashed right flap over to the left. Your figure should now look like this.
つぶした右のはねを左側に折ります。これで作品はこのような形になります。
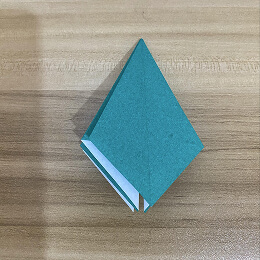
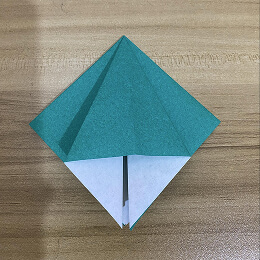
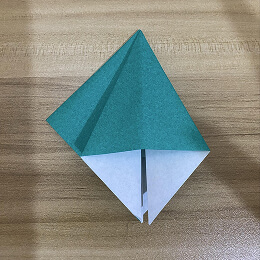
Grab the flap at the bottom and fold it up until you get a triangle.
下のはねをつかみ、三角形になるまで折り上げます。
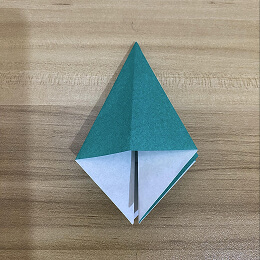
Unfold that flap.
そのはねを開きます。
Take that flap and fold it backward, tucking it underneath.
そのはねを後ろに折り、下に差し込みます。
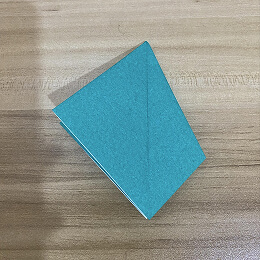
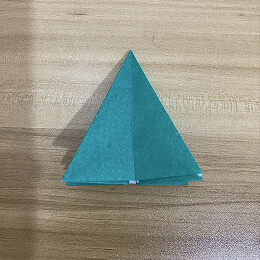
After tucking the flap underneath, it should look like the image.
はねを下に差し込んだら、作品は画像のような形になります。

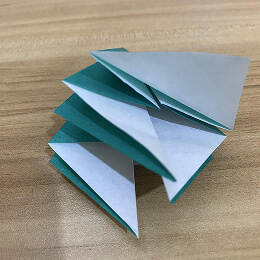
Fold and tuck in the remaining three bottom flaps.
残りの下の3つのはねも折って差し込みます。
Finally! Stand your figure up and fan out the flaps until it looks like an origami Christmas tree.
ついに完成です!作品を立たせ、はねを広げて折り紙のクリスマスツリーの形にします。


