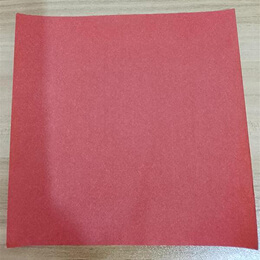
Start with a square sheet of origami paper. I am using a 7×7-inch sheet. If you are using double-sided origami paper, keep the colored side facing up.
折り紙を1枚用意します。私は7×7インチの折り紙を使っています。両面カラーの折り紙を使う場合は、色のついた面を上にして置いてください。
Start with a square sheet of origami paper. I am using a 7×7-inch sheet. If you are using double-sided origami paper, keep the colored side facing up.
折り紙を1枚用意します。私は7×7インチの折り紙を使っています。両面カラーの折り紙を使う場合は、色のついた面を上にして置いてください。
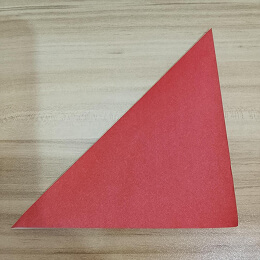
Fold from the top left corner to the bottom right corner.
左上の角から右下の角に向かって折ります。
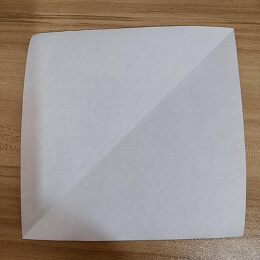
Unfold.
ひらきます。
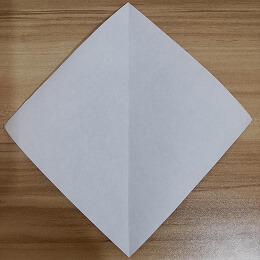
Rotate the paper to make it resemble a diamond.
紙を回して、ひし形の向きにします。
Fold the right edge to the center.
右の端を中心に向かって折ります。
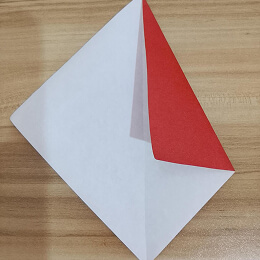
Fold the left edge to the center.
左の端を中心に向かって折ります。
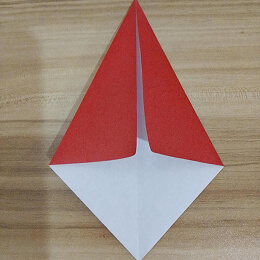
Fold the bottom corner to the top.
下の角を上に折ります。
Fold the corner down.
角を下に折ります。
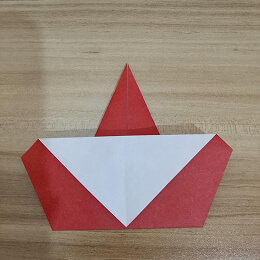
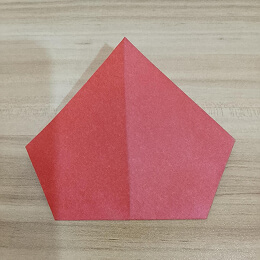
Fold the edge down.
端を下に折ります。
Turn the paper over.
紙を裏返します。
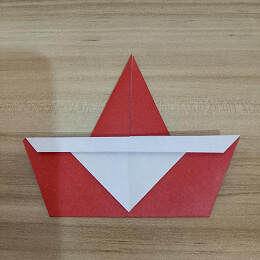
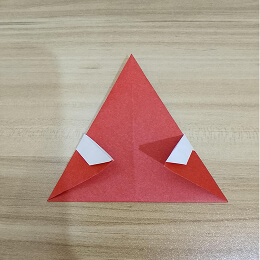
Fold the right corner diagonally toward the side.
右の角を斜めに外側へ折ります。
Fold the left corner diagonally toward the side.
左の角を斜めに外側へ折ります。
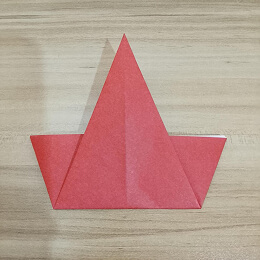
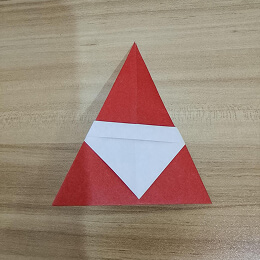
Turn the paper over.
紙を裏返します。
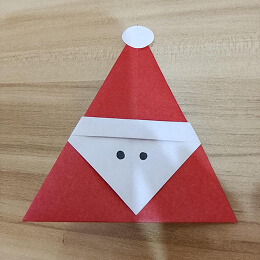
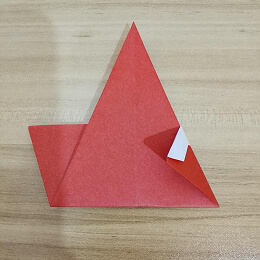
Design your Santa Claus’s face, then add a white circle at the top to complete the hat, and you’re all done!
サンタクロースの顔を描き、帽子の上に白い丸を付けて完成です!