Start with a square piece of origami paper. I am using a 7×7 inch sheet of origami paper.
折り紙の正方形の紙から始めます。私は7×7インチの折り紙を使っています。
Start with a square piece of origami paper. I am using a 7×7 inch sheet of origami paper.
折り紙の正方形の紙から始めます。私は7×7インチの折り紙を使っています。

Face the lighter side upward if you are using double-sided origami paper.
両面折り紙を使う場合は、明るい色の面を上に向けます。
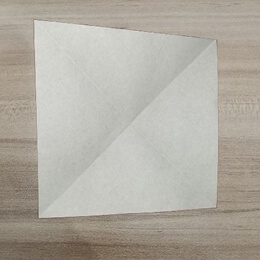
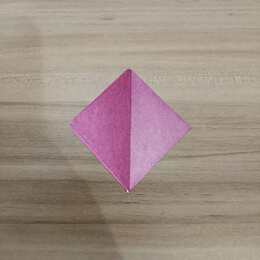
Fold the upper left corner to the lower right corner.
左上の角を右下の角に折ります。
Unfold.
開きます。
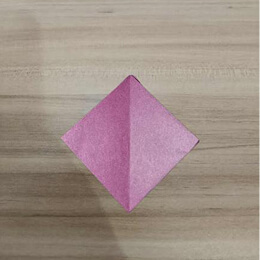
Fold the upper right corner to the lower left corner.
右上の角を左下の角に折ります。
Unfold.
開きます。
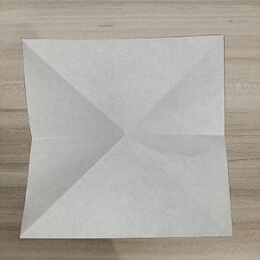
Fold the top half backward.
上半分を後ろに折ります。

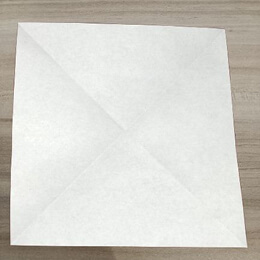
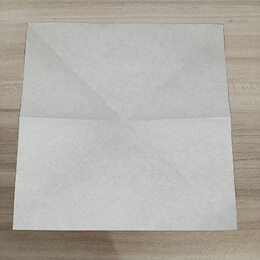
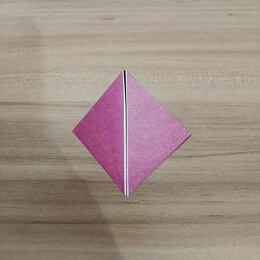
Unfold. You now have creases where the dotted gray lines go.
開きます。これで、点線の位置に折り目がつきました。
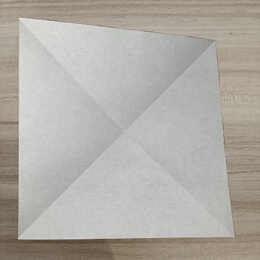
Push the center of the paper to make it pop inward.
紙の中央を押してへこませます。
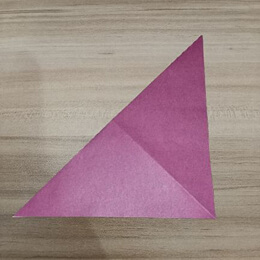
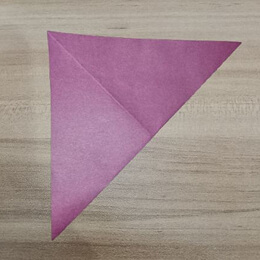
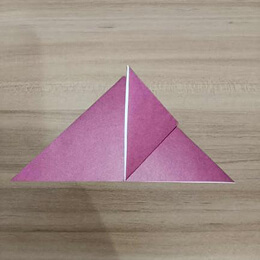
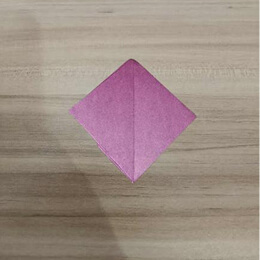
Bring the left and right creases to the center, and the paper should collapse into a triangle.
左右の折り目を中央に寄せると、紙が三角形に折りたたまれます。
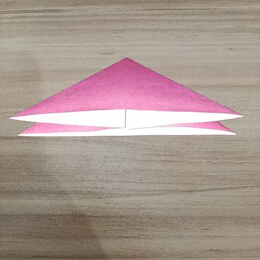
Firmly press the triangular shape.
三角形の形をしっかり押さえます。

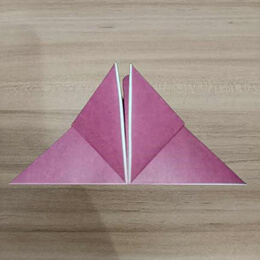
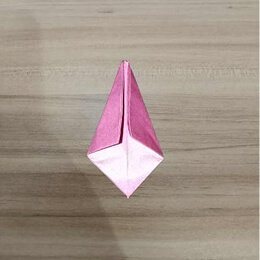
Fold the right corner up to the top corner.
右の角を上の角に折ります。
Fold the left corner up to the top corner.
左の角を上の角に折ります。
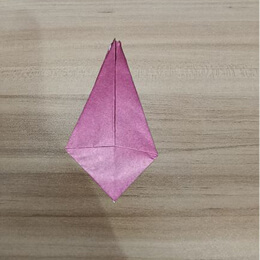
Turn the figure over.
折り紙を裏返します。

Repeat steps 12 and 13 on this side by folding the side corners up to the top corner.
反対側でも同じように、左右の角を上の角に折ります。
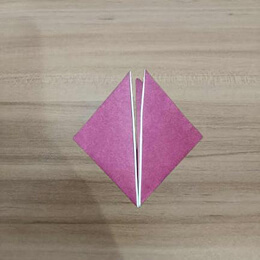
Fold only the top layer on the left side over to the right.
左側の上の一枚だけを右に折ります。
Turn the figure over.
折り紙を裏返します。
Again, fold only the top layer on the left side over to the right.
もう一度、左側の上の一枚だけを右に折ります。
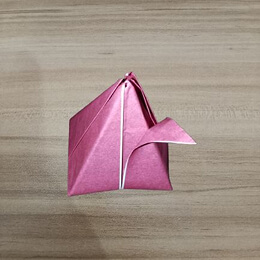
To insert the left flap all the way into the right flap, fold the top layers as shown.
左のフラップを右のフラップに差し込むために、上の層を図のように折ります。

Now insert the left flap into the right flap, then flatten it.
左のフラップを右のフラップに差し込み、平らにします。

Turn the figure over.
折り紙を裏返します。
To insert the left flap all the way into the right flap, fold the top layers as shown.
左のフラップを右のフラップに差し込むために、上の層を図のように折ります。
Insert the right flap all the way into the left flap, then flatten it.
右のフラップを左のフラップに完全に差し込み、平らにします。
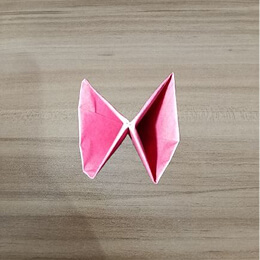
Pick up the tulip from the bottom as shown in the picture and spread the flaps apart.
写真のように下からチューリップを持ち、フラップを広げます。
Use both hands to blow into the small hole at the bottom of the tulip.
両手を使って、チューリップの底にある小さな穴に息を吹き込みます。

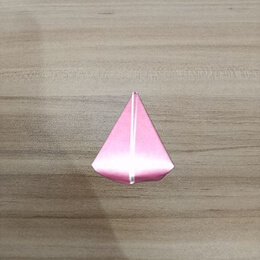
The tulip should puff up like this.
チューリップがこのようにふくらみます。
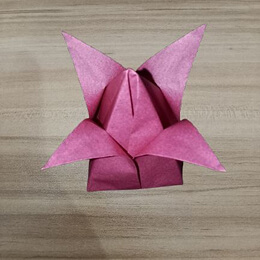
Peel one petal down carefully, making sure not to loosen the tucked flap.
折り込んだ部分が緩まないように注意して、花びらを1枚下にめくります。
Peel the other three petals down.
残りの3枚の花びらも下にめくります。
You need to fold the stem separately to insert into the tulip. Here is a link to the Origami Flower Stem.
茎は別に折ってチューリップに差し込みます。こちらが折り紙の茎の作り方リンクです。
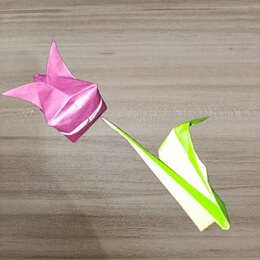
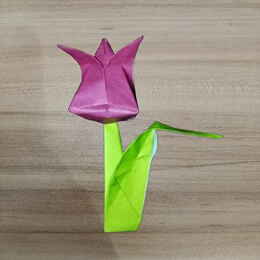
Insert the stem into the bottom of the tulip, and you’re all done! Wasn’t that easy?
茎をチューリップの底に差し込んで、完成です!簡単だったでしょう?