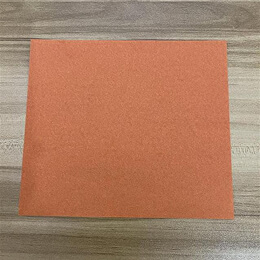
Start with a square piece of origami paper. I am using a 7×7 inch origami paper.
正方形の折り紙を用意します。私は7×7インチの折り紙を使っています。
Start with a square piece of origami paper. I am using a 7×7 inch origami paper.
正方形の折り紙を用意します。私は7×7インチの折り紙を使っています。
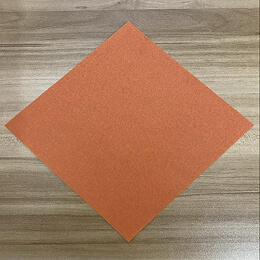
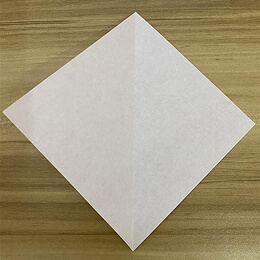
Rotate the paper diagonally as shown.
紙を図のように斜めに回転させます。
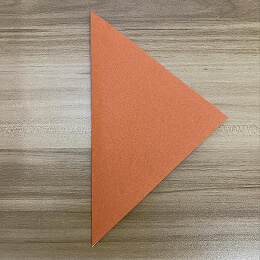
Fold the paper in half by bringing the left corner to the right corner.
左の角を右の角に合わせて、紙を半分に折ります。
Now unfold it. We just needed a center crease.
では、広げてください。中心の折り目だけが必要でした。
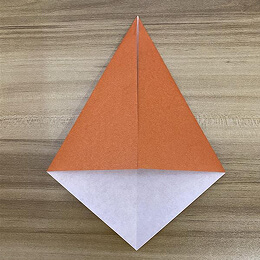
Fold the upper left and right sides to the center as shown.
図のように、上の左側と右側を中央に折ります。
Fold the bottom right side to the center.
右下の部分を中央に折ります。
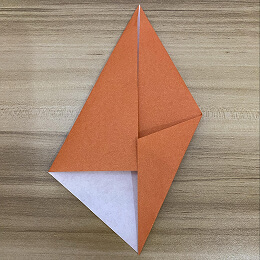
Now fold the bottom left side to the center.
では、左下の部分を中央に折ります。

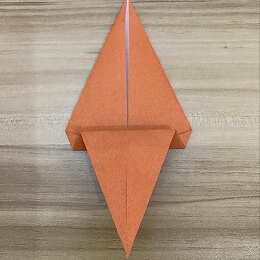
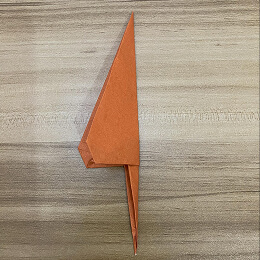
Fold the bottom up as shown, not in half.
図のように、下の部分を半分ではなく折り上げます。
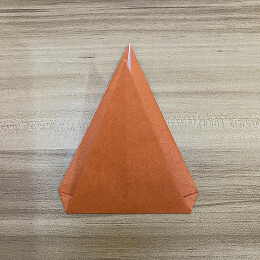
Fold most of the flap back down.
ひだのほとんどを折り戻します。
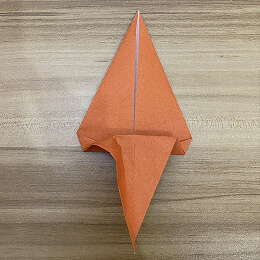
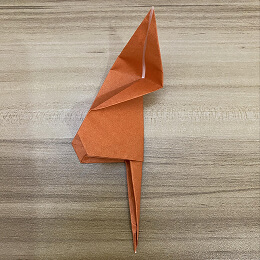
Squash the left pocket of the triangle. You’ll need to fold the left side of the triangle while opening and flattening the pocket.
三角形の左側のポケットをつぶします。ポケットを開いて平らにしながら、三角形の左側を折る必要があります。
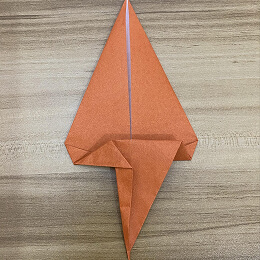
Flatten the pocket well. It’s okay if it’s not perfect.
ポケットをしっかりと平らにします。完璧でなくても大丈夫です。
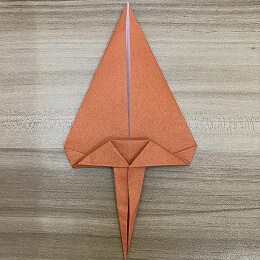
Do the same to the right side.
右側も同じように行います。
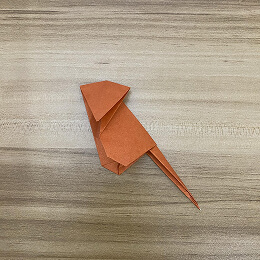
Fold the entire figure in half by folding the right side over to the left side.
右側を左側に折って、全体を半分に折ります。
Open the top layer and crease it to the side.
上の層を開いて、横に折り目をつけます。
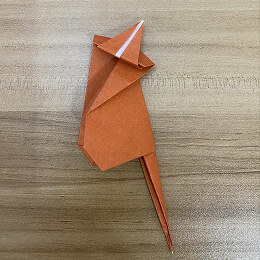
Then fold the top point down to the bottom left corner.
次に、上の先端を左下の角に折ります。
Fold about two-thirds of the flap back up.
ひだの約3分の2を折り返します。

Fold a small portion of the flap base under and back.
ひだの根元の一部を内側に折り込み、折り返します。
Fold the flap down.
ひだを下に折ります。
Fold the bottom part of the triangle under and back.
三角形の下の部分を内側に折り込み、折り返します。
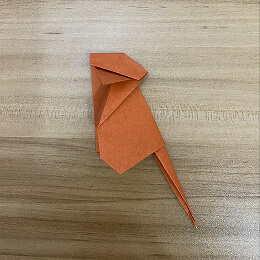
Fold the tail up as shown.
図のようにしっぽを折り上げます。
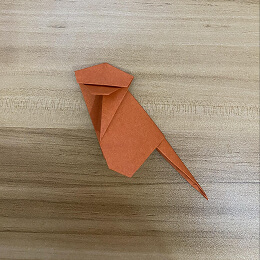
Unfold the tail.
しっぽを広げます。
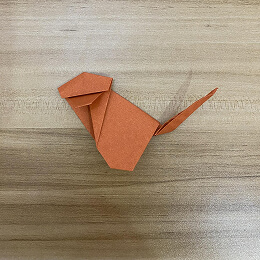
Using the crease you just made, do an outside reverse fold.
先ほどつけた折り目を使って、外側のリバースフォールドをします。
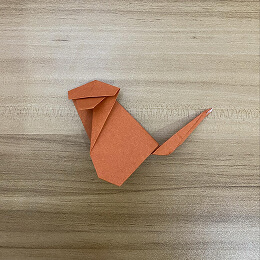
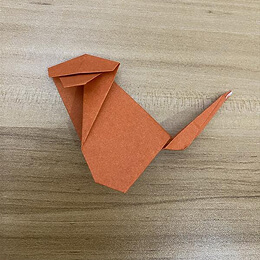
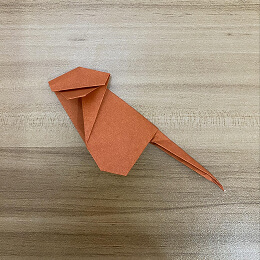
Voilà! Now you have a monkey.
はい、できあがり!これでおさるさんの完成です。