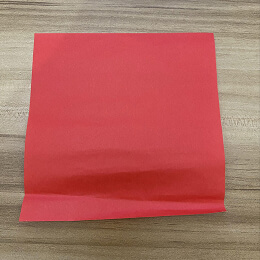
Start with a square piece of origami paper. I’m using a 7×7-inch sheet of origami paper.
正方形の折り紙を用意します。私は7×7インチの折り紙を使っています。
Start with a square piece of origami paper. I’m using a 7×7-inch sheet of origami paper.
正方形の折り紙を用意します。私は7×7インチの折り紙を使っています。
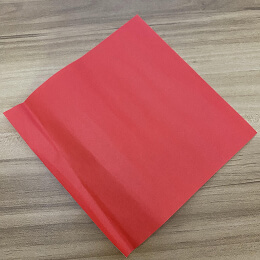
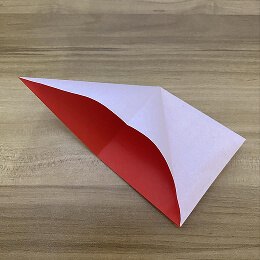
If you are using double-sided colored paper, face the darker side up and rotate the paper diagonally.
両面に色がついた折り紙を使う場合は、濃い色の面を上にして、紙を斜めの向きに置きます。
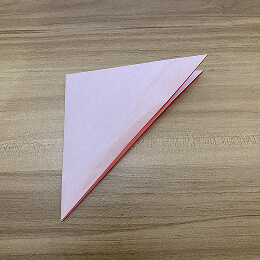
Fold the paper in half by bringing the top corner down to meet the bottom corner.
上の角を下の角に合わせて、紙を半分に折ります。
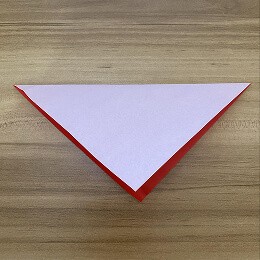
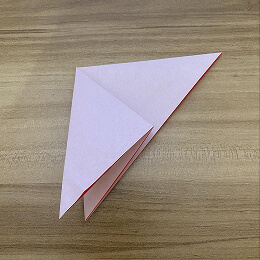
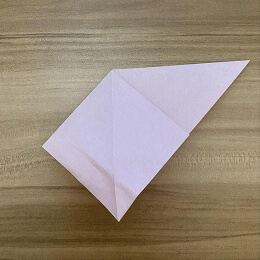
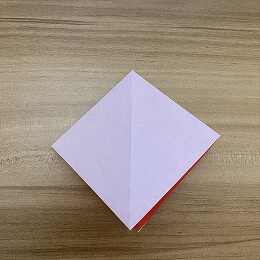
Fold the left corner over to the right corner.
左の角を右の角に折ります。
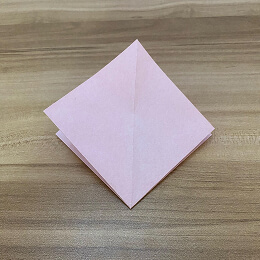
Fold the top layer in half by bringing the right corner down to meet the bottom corner.
上の一枚だけ、右の角を下の角に合わせて半分に折ります。
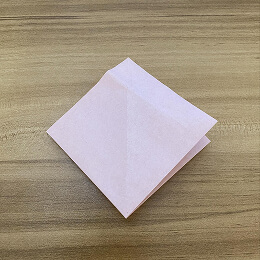
Unfold the top layer. We only need the crease.
上の層を広げます。折り目だけ残せば大丈夫です。

To make a squash fold, open the top layer along the creases you just made.
スクワッシュ折りをするために、先ほどつけた折り目に沿って上の層を開きます。
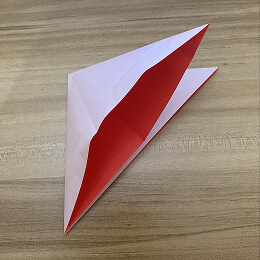
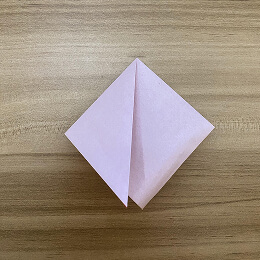
Squash fold the top layer by flattening it down.
上の層を押し下げて、スクワッシュ折りにします。
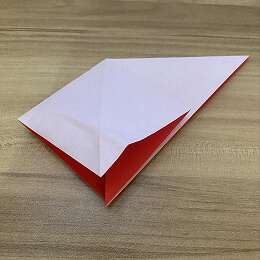
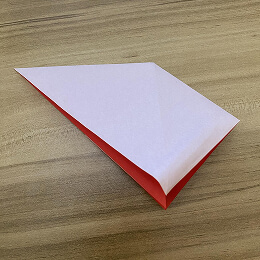
Turn the paper over.
紙を裏返します。
Fold the left corner down to meet the bottom corner.
左の角を下の角に合わせて折ります。
Squash fold the left flap using the crease you just made.
先ほどつけた折り目を使って、左のフラップをスクワッシュ折りにします。
Press the crease firmly.
折り目をしっかりと押さえます。
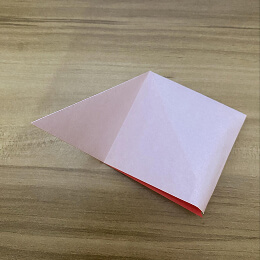
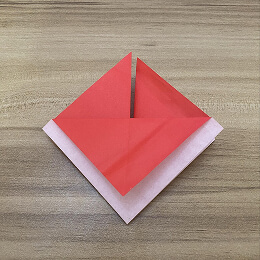
Turn the figure upside down.
作品を裏返します。
Fold the top layer down as shown, but not all the way.
上の層を図のように折りますが、全部折り下げないようにします。

Flip the model over.
作品を裏返します。
Fold the top layer down as shown, but not all the way.
上の層を図のように折りますが、完全には折り下げないようにします。
Fold the top right flap down to the side as shown.
上の右のフラップを図のように横に折ります。
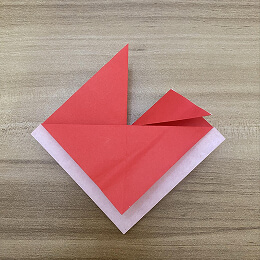
Fold the top left flap down to the side as shown.
上の左のフラップを図のように横に折ります。
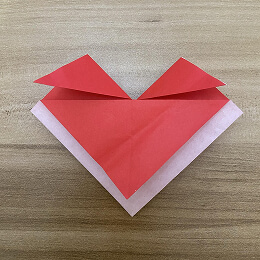
Now fold a small portion of the top corners as shown.
では、上の角の一部を図のように折ります。
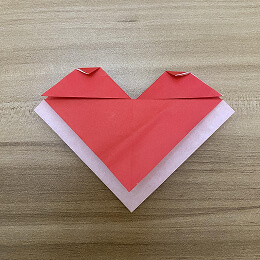
Fold in the left and right corners as shown.
左と右の角を図のように内側に折ります。
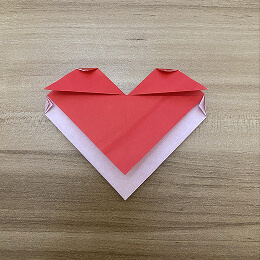
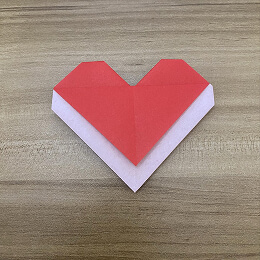
Just turn the figure around, and you’ll have a finished origami heart envelope.
作品をひっくり返すと、完成した折り紙ハート封筒になります。