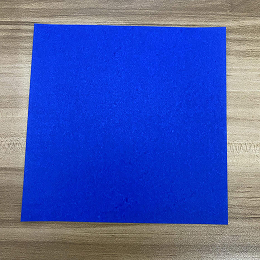
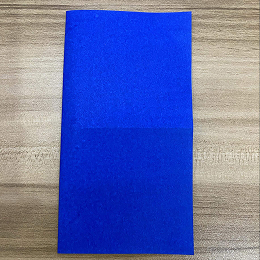
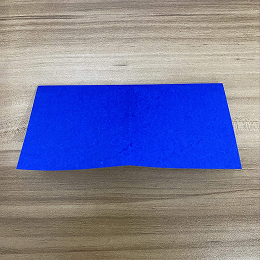
Start with a square sheet of origami paper. I am using a 7×7 inch piece of origami paper.
折り紙用の正方形の紙を用意します。私は7×7インチの折り紙を使っています。
Start with a square sheet of origami paper. I am using a 7×7 inch piece of origami paper.
折り紙用の正方形の紙を用意します。私は7×7インチの折り紙を使っています。
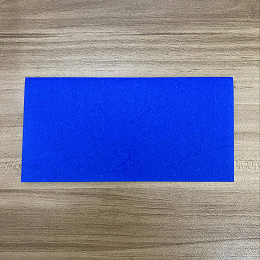
Fold the paper in half, from top to bottom.
紙を上下に半分に折ります。
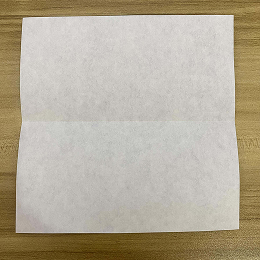
Unfold.
開きます。
Now fold the paper in half again, from left to right.
次に、紙を左右に半分に折ります
Unfold.
開きます。

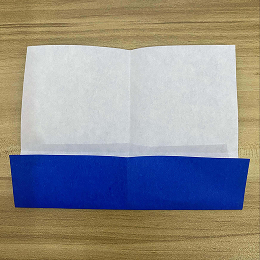
Fold the bottom edge to the center crease.
下の端を中央の折り目に合わせて折ります。
Diagonally fold down the right side of the bottom flap. This forms the wheels.
下のふたの右側を斜めに折り下げます。これが車輪になります。
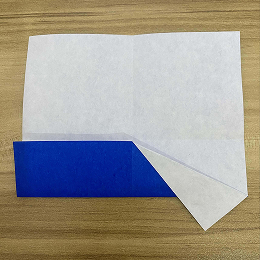
Diagonally fold down the right side of the bottom flap. This forms the wheels.
下のフラップの右側を斜めに折り下げます。これが車輪になります。
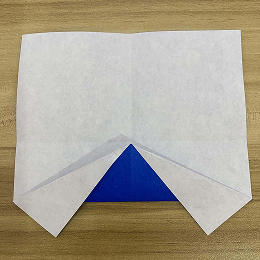
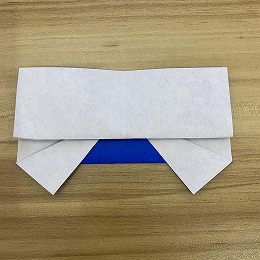
Fold down the top part at the horizontal crease, covering the wheels entirely.
上の部分を横の折り目で折り下げて、車輪を完全に覆います。
Now fold about three-quarters of it back up.
次に、約4分の3を折り返します。
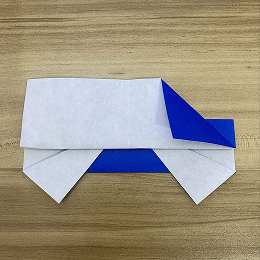
Fold down the top right corner as shown in the picture.
写真のように右上の角を折り下げます。
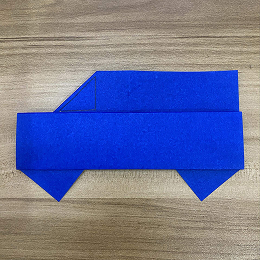
Turn the figure over, and now you know how to make an origami car!
形を裏返して、これで折り紙の車の作り方がわかりました!
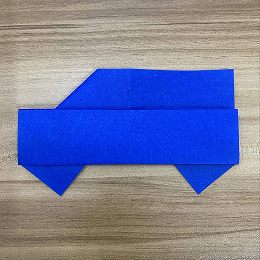
Finally, draw the windows and doors, and you can design your own dream car!
最後に、窓とドアを描いて、自分だけの夢の車をデザインしましょう!