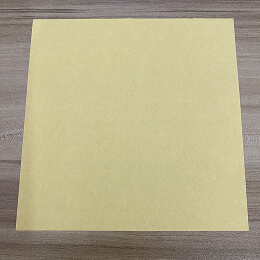
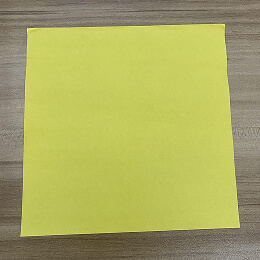
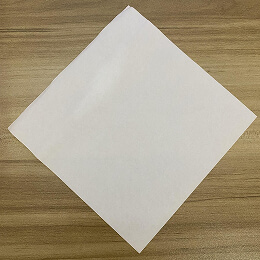
Start with a square piece of origami paper. I am using a 7×7 inch sheet of origami paper.
正方形の折り紙を用意します。私は7×7インチの折り紙を使っています。
Start with a square piece of origami paper. I am using a 7×7 inch sheet of origami paper.
正方形の折り紙を用意します。私は7×7インチの折り紙を使っています。
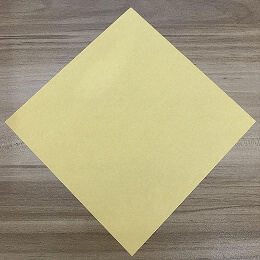
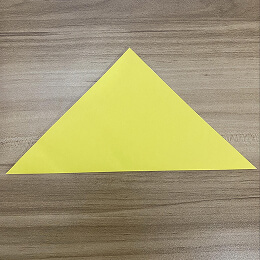
Rotate the paper so that it looks like a diamond. If you are using origami paper with two colors, make sure the colored side is facing up.
紙をひし形になるように回転させます。両面に色がある折り紙を使っている場合は、色のついた面を上にしてください。
Fold the paper in half by bringing the top edge down to the bottom edge.
紙を半分に折ります。上の端を下の端に合わせて折ってください。

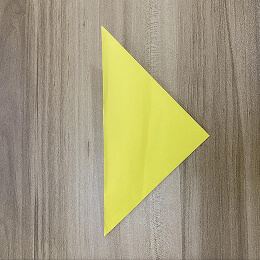
Bring the left edge of the triangle up to the top edge.
三角形の左の端を上の端に合わせて折ります。
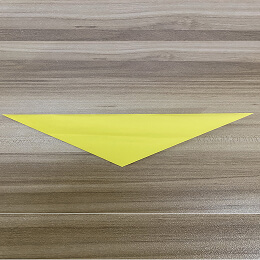
Turn the paper over.
紙を裏返します。
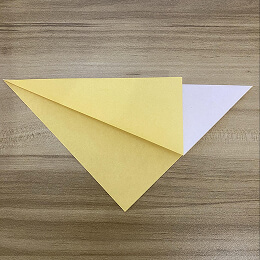
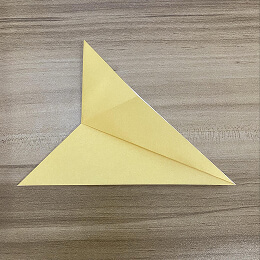
Fold the triangle in half by bringing the left corner over to the right corner.
三角形を半分に折ります。左の角を右の角に合わせて折ってください。
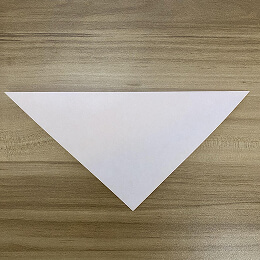
Open the flap.
フラップ(折り返し)を開きます。
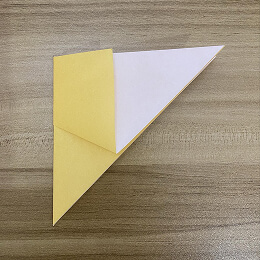
Squash the flap down, keeping the right corner pointy as you make the crease, and make sure the top edges stay aligned.
フラップをつぶすように折り下げます。そのとき、右の角がとがったままになるようにし、上の端同士が揃うようにしてください。
Get a new sheet of paper.
新しい紙を用意してください。
Rotate it like this, with the colored side facing down.
このように回転させて、色のついた面を下にしてください。
Fold the bottom corner up to the top corner, creasing well.
下の角を上の角に合わせてしっかり折り目をつけます。
Fold the triangle in half by folding the left corner over to the right.
三角形を半分に折ります。左の角を右に折り返してください。
Rotate the triangle so that it looks like an arrow pointing down.
三角形を回転させて、下向きの矢印の形にします。
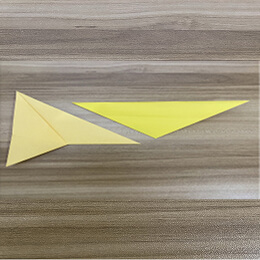
Bring in the piece you completed earlier and rotate it as shown in the picture, so it looks like an arrow pointing up.
先ほど作ったパーツを持ってきて、写真のように回転させて、上向きの矢印の形にします。
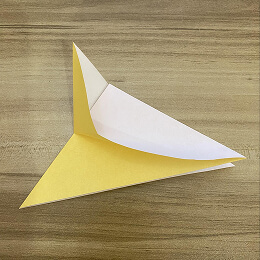
Slip the triangle on the left in between the flaps of the arrow.
左の三角形を矢印の折り返しの間に差し込みます。

Tape the two pieces together, and there you have it! ★
二つのパーツをテープで貼り合わせれば、完成です!★