Start with a square piece of origami paper. I am using a 7×7 inch origami paper.
最初に、正方形の折り紙を用意します。私は7×7インチの折り紙を使っています。
Start with a square piece of origami paper. I am using a 7×7 inch origami paper.
最初に、正方形の折り紙を用意します。私は7×7インチの折り紙を使っています。
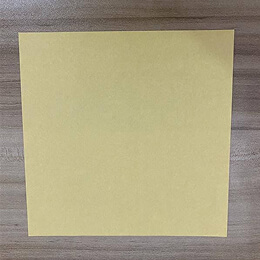
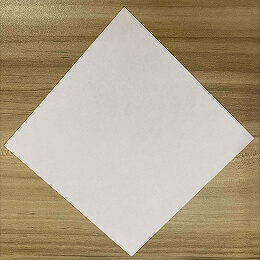
If you are using two-colored origami paper, then face the lighter side upwards.
両面に色がある折り紙を使う場合は、明るい色の面を上に向けてください。
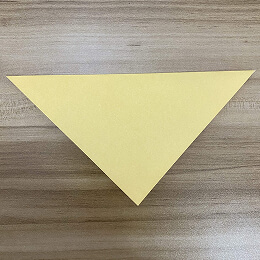
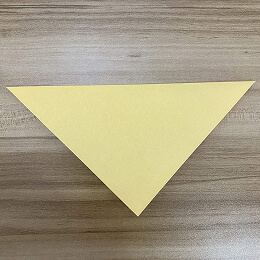
Fold the paper in half by folding the top corner down to the bottom corner.
上の角を下の角に合わせて折り、紙を半分に折ります。
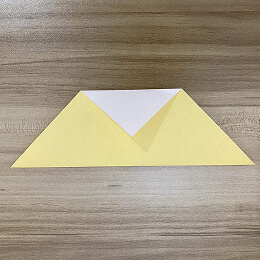
Fold the bottom corner of the top layer up about halfway.
上の層の下の角を、半分くらいの位置まで上に折ります。

Turn the paper over.
紙を裏返します。
Again, fold the bottom corner up.
もう一度、下の角を上に折ります。
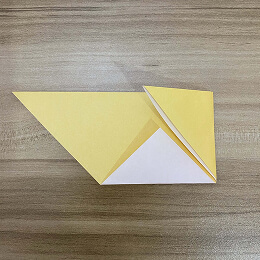
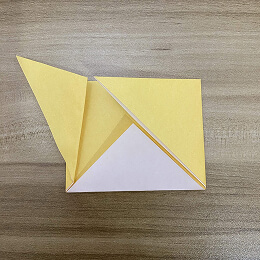
Mentally divide the paper into three parts, and fold the right one-third over to the left.
紙を頭の中で3等分し、右側の3分の1を左に折ります。
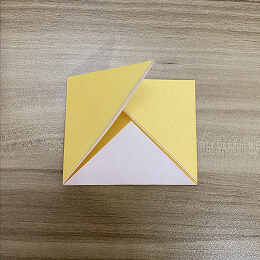
Fold the left one-third over to the right.
左側の3分の1を右に折ります。
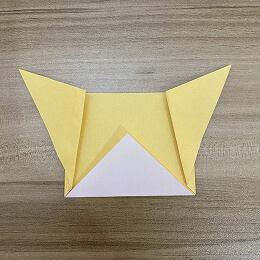
Fold those same flaps up at an angle. These will be the ears. Fold the left side first.
同じフラップを斜めに上へ折ります。これが耳になります。まず左側から折ってください。
Fold the right flap.
右のフラップを折ります。
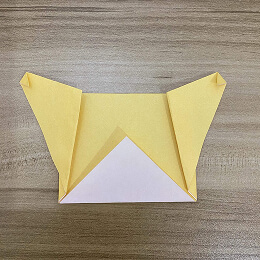
Fold the ears down like this.
耳をこのように折り下げます。
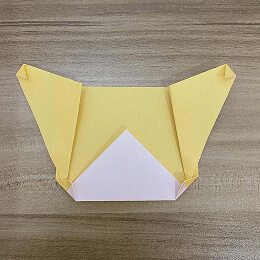
Fold in the bottom left and right corners.
左下と右下の角を内側に折ります。
Turn the bear over.
くまを裏返します。

Now fold back the top left and right corners of the head.
次に、頭の左上と右上の角を後ろに折ります。

Fold the edge of the top flap to make a nose.
上のフラップの端を折って鼻を作ります。
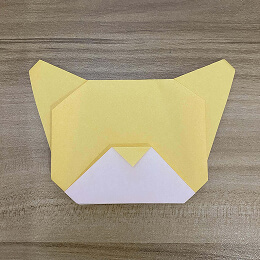
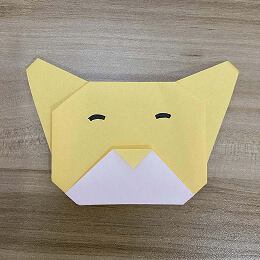
You can draw on the face if you like, and VOILA!
顔に好きなように描いてもいいですよ。できあがり!