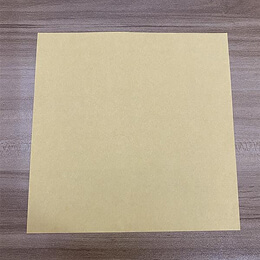
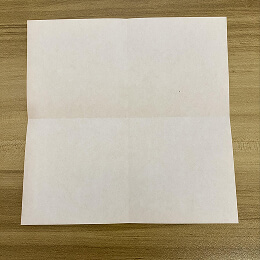
Start with a square sheet of origami paper. I am using a 7×7 inch sheet of origami paper.
最初に正方形の折り紙を用意します。私は7×7インチの折り紙を使っています。
Start with a square sheet of origami paper. I am using a 7×7 inch sheet of origami paper.
最初に正方形の折り紙を用意します。私は7×7インチの折り紙を使っています。
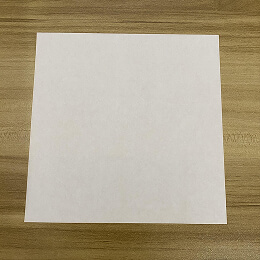
If you are using double-sided origami paper, face the lighter side up.
両面カラーの折り紙を使っている場合は、明るい色の面を上に向けてください。
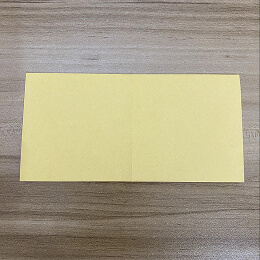
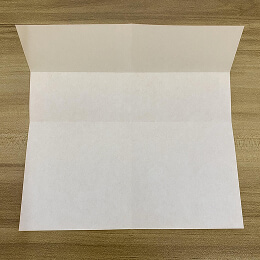
Fold the paper in half.
紙を半分に折ります。

Unfold.
開きます。

Fold in half again, but this time, fold from top to bottom.
もう一度半分に折りますが、今度は上から下に折ってください。
Unfold.
開きます。
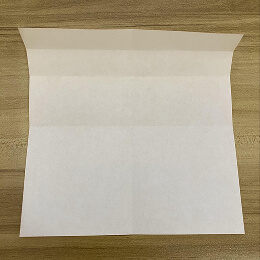
Now fold the top edge down again, but this time stop at the center.
次に、もう一度上の端を下に折りますが、今回は中央で止めてください。

Unfold.
開きます。
Once again, fold the top edge down, but stop at the top crease.
もう一度、上の端を下に折りますが、今度は一番上の折り目で止めてください。
Unfold.
開きます。
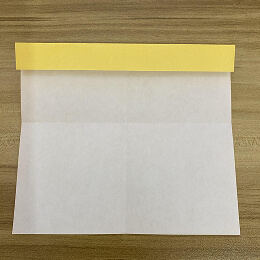
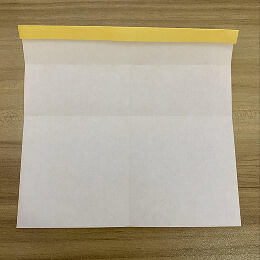
Fold the top edge down to the uppermost crease.
上の端を一番上の折り目に合わせて下に折ってください。
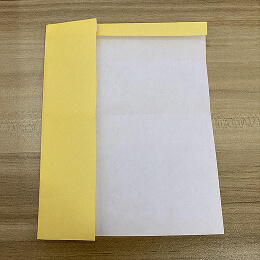
Fold the left edge to the center crease.
左の端を中央の折り目に合わせて折ってください。
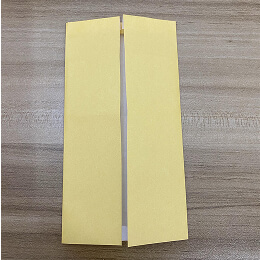
Fold the right edge to the center crease.
右の端を中央の折り目に合わせて折ってください。
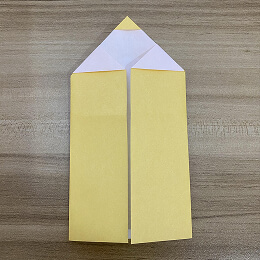
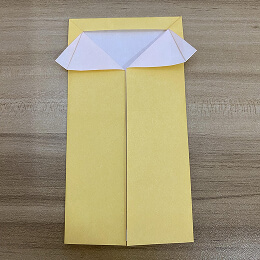
Spread out the top corners at the center and fold them to the sides.
中央の上の角を広げて、左右に折ってください。
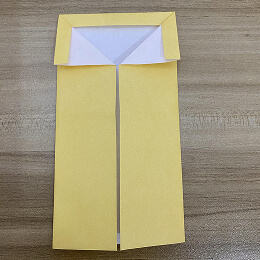
Take the small flap you just folded and fold it diagonally outward.
さっき折った小さなひらひらを取り、斜め外側に折ってください。
Turn the figure over.
形を裏返してください。

Fold the top left and right corners to the center.
左上と右上の角を中央に折ってください。

Turn the figure over, and now you have a paper pencil. It can draw too—just kidding, it only looks like a pencil!
形を裏返すと、紙の鉛筆が完成です。描けると思った?冗談です、見た目が鉛筆なだけですよ!