Begin with a square sheet of origami paper. I am using a 7×7 inch origami paper.
折り紙は正方形の紙から始めます。私は7×7インチの折り紙を使っています。
Begin with a square sheet of origami paper. I am using a 7×7 inch origami paper.
折り紙は正方形の紙から始めます。私は7×7インチの折り紙を使っています。
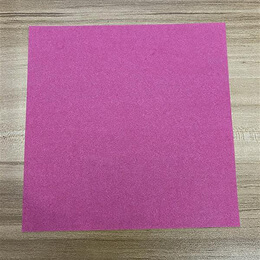
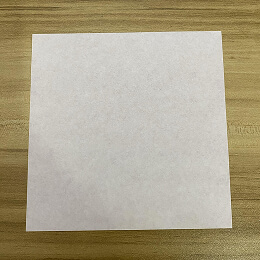
Face the lighter side upwards if you are using two-colored origami paper.
両面に色がある折り紙を使う場合は、明るい色の面を上に向けてください。
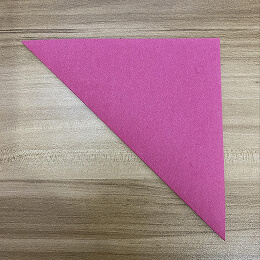
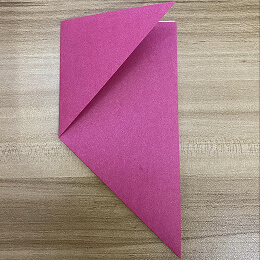
Fold the paper in half by folding the lower left corner to the upper right corner.
紙を半分に折ります。左下の角を右上の角に合わせて折ってください。
Fold the left corner to the right corner.
左の角を右の角に合わせて折ってください。
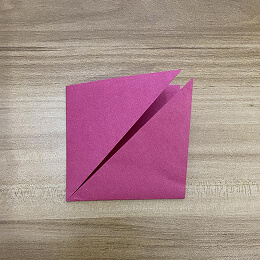
Fold the bottom corner to the upper right corner.
下の角を右上の角に合わせて折ってください。
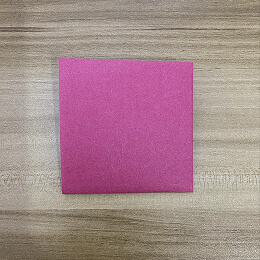
Turn the figure over horizontally
図形を横に裏返してください。
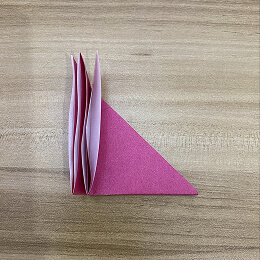
Fold the upper right corner to the lower left corner.
右上の角を左下の角に合わせて折ってください。


Fold the entire left side just a bit before the center. The farther towards the center you fold, the bigger the head will be.
左側全体を中心の少し手前で折ってください。中心に近づけて折るほど、頭が大きくなります。

Unfold.
開いてください。
Grab the bottom corner of the outside flap and open it. The fox’s head will begin to fold down by itself.
外側のはねの下の角をつかんで開いてください。キツネの頭が自然に折り下がり始めます。
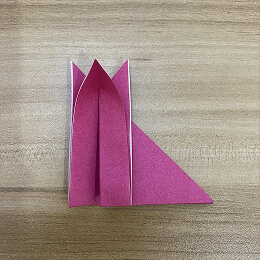
Go ahead and fold the head down.
さあ、頭を折り下げてください。

Fold the bottom corner of the top flap of the head inwards to make a nose.
頭の上側のはねの下の角を内側に折って、鼻を作ってください。

Fold a portion of the tail in.
尾の一部を内側に折ってください。
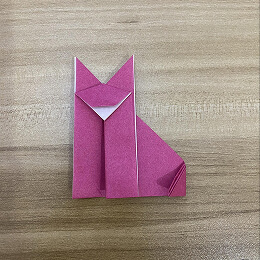
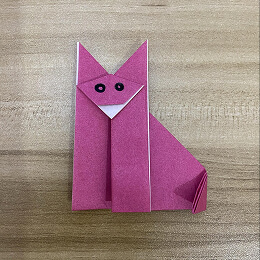
Draw eyes, and you’re all done. Wasn’t that easy?
目を描いて、これで完成です。簡単でしたね?