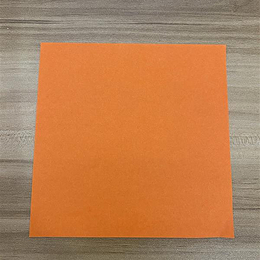
Start with a square piece of origami paper. I am using a 7×7 inch origami paper.
最初に正方形の折り紙を用意します。私は7×7インチの折り紙を使っています。
Start with a square piece of origami paper. I am using a 7×7 inch origami paper.
最初に正方形の折り紙を用意します。私は7×7インチの折り紙を使っています。
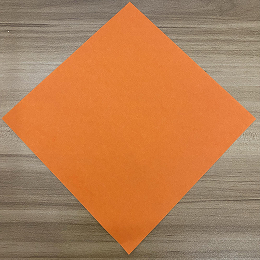
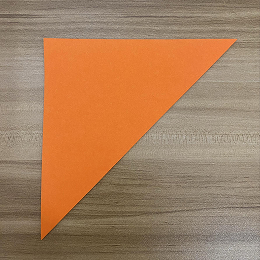
Rotate the paper diagonally as shown.
紙を図のように斜めに回転させます。
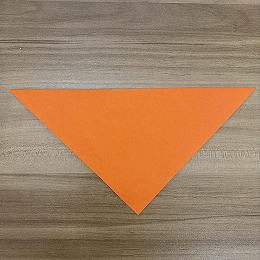
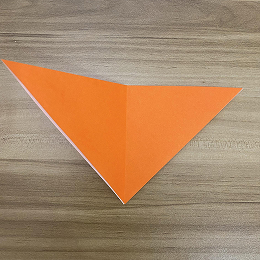
Fold the paper in half by bringing the top corner down to the bottom corner.
上の角を下の角に合わせて、紙を半分に折ります。
Fold it in half again by bringing the left corner over to the right corner.
左の角を右の角に合わせて、もう一度半分に折ります。
Unfold.
開きます。
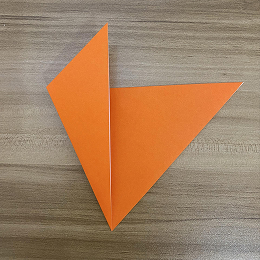
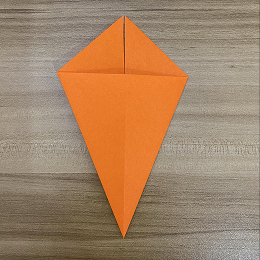
Fold the left triangle edge toward the center, but not all the way to the center.
左側の三角の端を中心に向かって折りますが、完全には中心まで折らないでください。
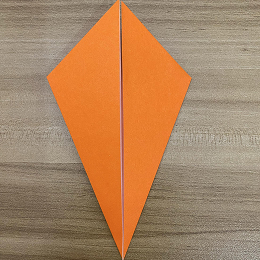
Fold the right triangle edge toward the center, but not all the way.
右側の三角の辺を中央に向かって折りますが、完全には折りません。
Turn the figure over.
図形を裏返します。
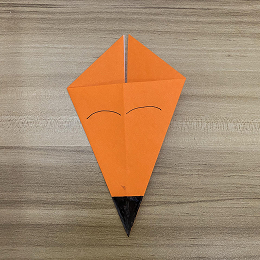
Draw the face, and you’ve just made yourself a cute paper fox!
顔を描いたら、かわいい紙のキツネができあがり!