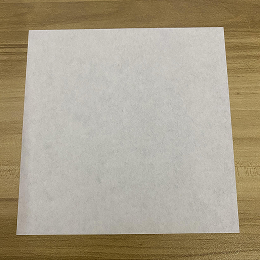
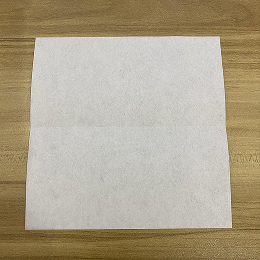
Start with a square sheet of origami paper. I am using a 7×7 inch, two-sided origami paper.
正方形の折り紙を用意します。私は7×7インチの両面折り紙を使っています。
Start with a square sheet of origami paper. I am using a 7×7 inch, two-sided origami paper.
正方形の折り紙を用意します。私は7×7インチの両面折り紙を使っています。
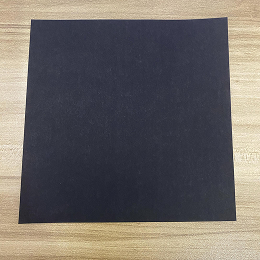
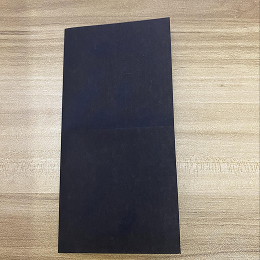
If you are using two-sided origami paper, place the lighter side facing up.
両面折り紙を使う場合は、明るい面を上に向けてください。
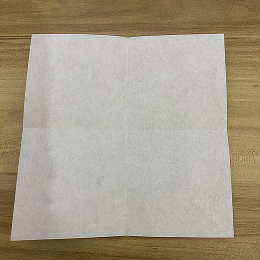
Fold the top half down.
上半分を下に折ります。
Unfold. You should now have a crease where the dotted gray line is.
開きます。点線の灰色の線のところに折り目がついています。
Fold the left half to the right.
左半分を右に折ります。
Unfold.
開きます。
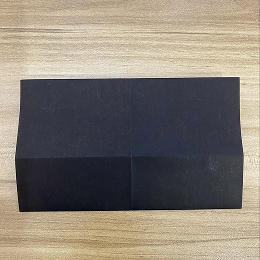
Fold the bottom edge to the center.
下の端を中央に折ります
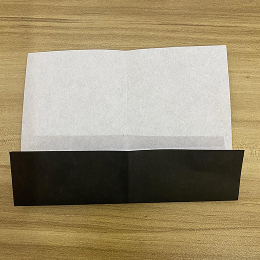
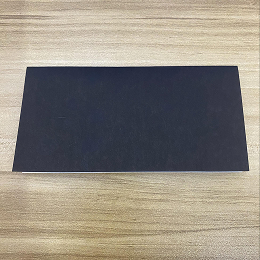
Fold one-third of the top half down.
上半分の1/3を下に折ります。

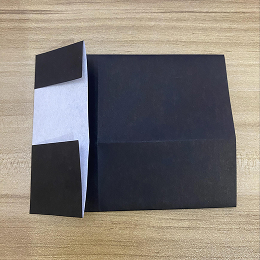
Turn the paper over horizontally.
紙を横向きに裏返します。
Fold the left edge to meet the center.
左の端を中央に合わせて折ります。
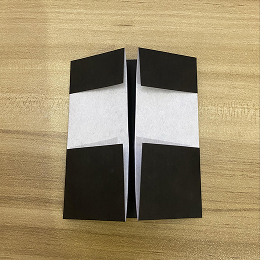
Fold the right edge to meet the center.
右の端を中央に合わせて折ります。
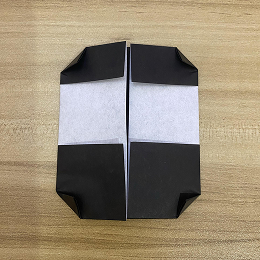
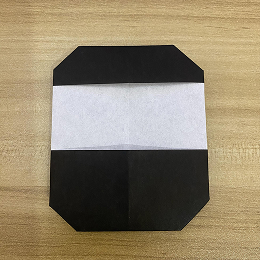
Fold the four corners to round the face.
顔の角を丸くするように四つの角を折ります。
Turn the figure over.
図形を裏返します。
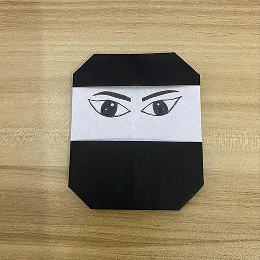
Draw the eyes. Now you know how to make an origami ninja.
目を描きます。これで折り紙の忍者の作り方がわかりましたね。