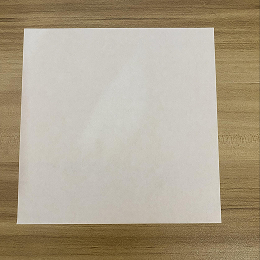
Start with a square sheet of origami paper. I am using a 7×7 inch origami paper.
正方形の折り紙を用意します。私は7×7インチの折り紙を使っています。
Start with a square sheet of origami paper. I am using a 7×7 inch origami paper.
正方形の折り紙を用意します。私は7×7インチの折り紙を使っています。
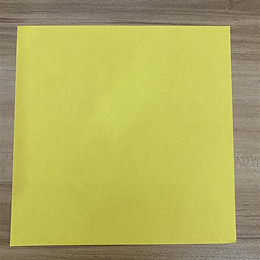
If you are using two-colored origami paper, face the lighter side upwards.
両面が異なる色の折り紙を使う場合は、明るい色の面を上に向けてください。
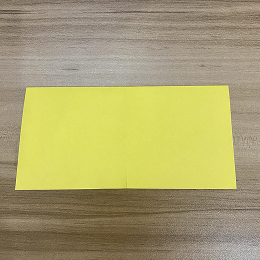
Fold the paper in half from left to right.
紙を左から右に向かって半分に折ります。

Unfold.
折り広げてください。

Fold the paper in half again, but this time from top to bottom.
紙をもう一度、今度は上から下に向かって半分に折ります。
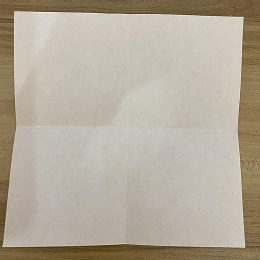
Again, unfold. You now have creases where the dotted gray lines are.
もう一度広げます。点線のグレーの線のところに折り目がついています。
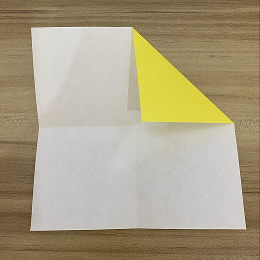
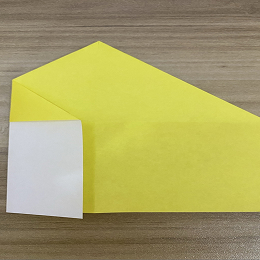
Fold the top right corner to the center.
右上の角を中央に折ります。
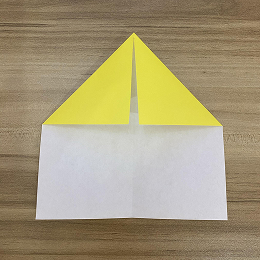
Fold the top left corner to the center.
左上の角を中央に折ります。
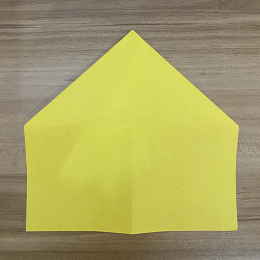
Turn the paper over.
紙を裏返します。
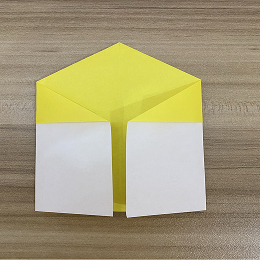
Fold the left edge to the center crease.
左の端を中央の折り目に折ります。
Fold the right edge to the center crease.
右の端を中央の折り目に折ります。
Fold the top corner down to the center.
上の角を中央に向かって折り下げます。
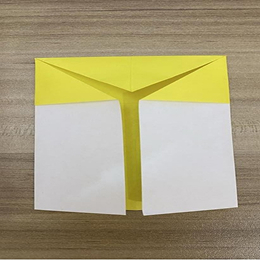
Fold the bottom edge to the center.
下の端を中央に折ります。
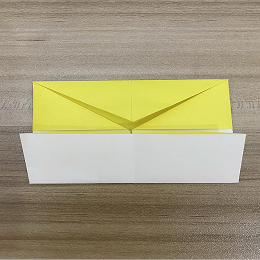
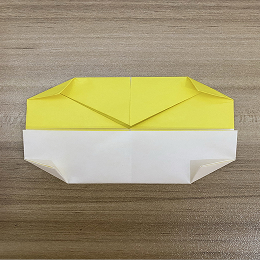
Fold in all four corners just a little, as shown in the picture.
写真のように、四つの角すべてを少しだけ内側に折ります。
Turn the paper over.
紙を裏返します。

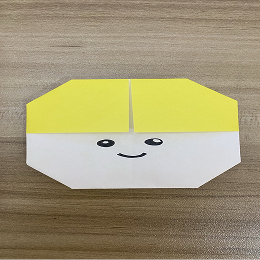
Get a marker and draw the face. Wasn’t that easy?
ペンを用意して、顔を描きましょう。簡単だったでしょう?