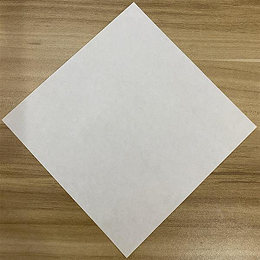
Start with a square origami paper or a piece of regular paper. A 7×7 inch paper is fine.
最初に正方形の折り紙、または普通の紙を用意します。7×7インチの紙で大丈夫です。
Start with a square origami paper or a piece of regular paper. A 7×7 inch paper is fine.
最初に正方形の折り紙、または普通の紙を用意します。7×7インチの紙で大丈夫です。

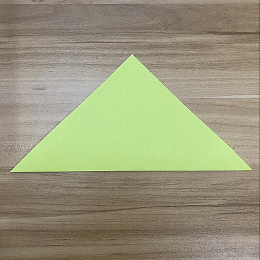
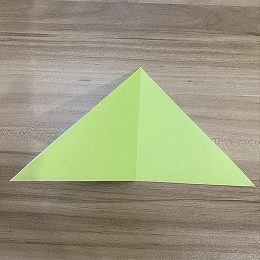
Flip over the paper and fold it diagonally.
紙を裏返して、対角線に折ります。
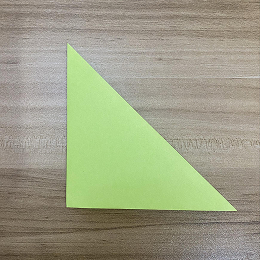
Fold the paper in half.
紙を半分に折ります。
Fold the left corner to the right corner.
左の角を右の角に折ります。
Unfold.
開きます。
Fold a small portion of the triangle base upward.
三角形の底辺の一部を少し上に折ります。

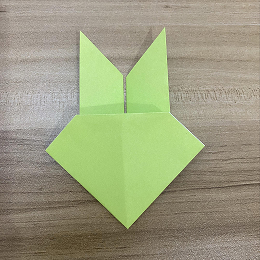
Fold the bottom right edge up toward the center.
右下のふちを中心に向かって上に折ります。
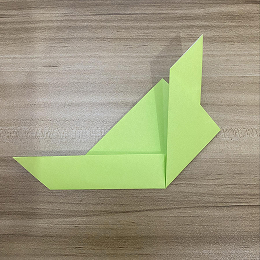
Repeat on the left side.
左側も同じように折ります。
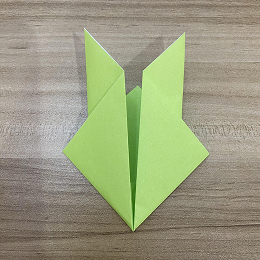
Turn the figure over.
形を裏返します。
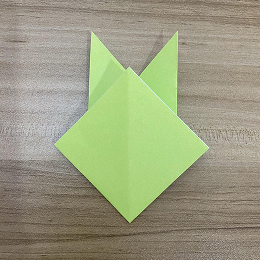
Fold the top corner of the head down.
頭の上の角を下に折ります。
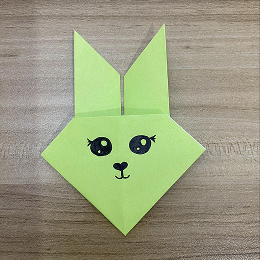
Draw eyes on the bunny. Here you have your cute paper bunny!
ウサギに目を描きます。これでかわいい折り紙のウサギの完成です!