Start with a square sheet of origami paper. I am using a 7×7 inch origami paper.
折り紙用の正方形の紙を用意します。私は7×7インチの折り紙を使っています。
Start with a square sheet of origami paper. I am using a 7×7 inch origami paper.
折り紙用の正方形の紙を用意します。私は7×7インチの折り紙を使っています。
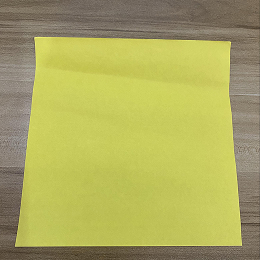
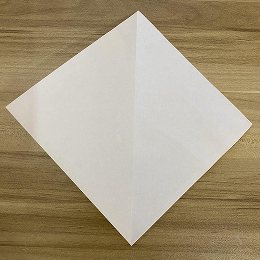
If you are using two-colored origami paper, then face the lighter side upward.
両面に色がある折り紙を使う場合は、明るい色の面を上に向けてください。
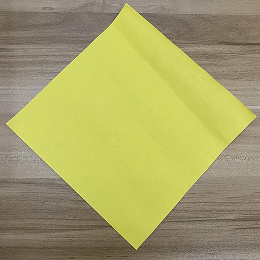
Fold the left half to the right, corner to corner.
左側を右側に角と角を合わせるように折ります。
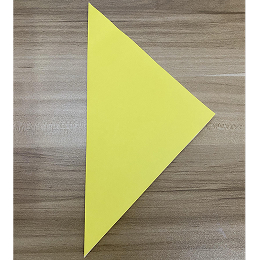
Unfold.
開きます。
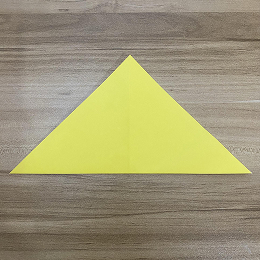
Fold the bottom half upward.
下側を上に向かって折ります。
Unfold.
開きます。

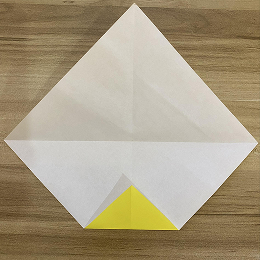
Fold a part of the bottom corner upward as shown in the picture.
写真のように、下の角の一部を上に折ります。
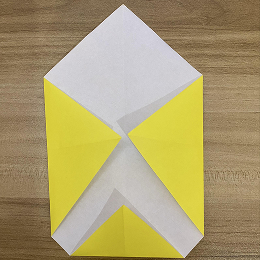
Fold the left corner inward above the horizontal crease, as shown in the picture.
写真のように、左の角を横の折り目の上で内側に折ります。
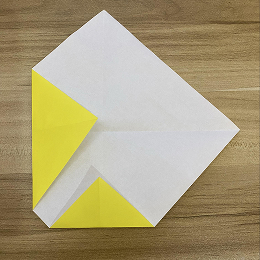
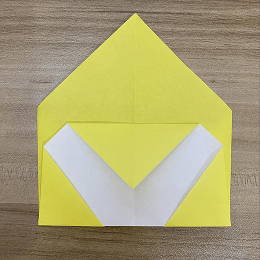
Fold the right corner inward above the horizontal crease, as shown in the picture.
写真のように、右の角を横の折り目の上で内側に折ります。
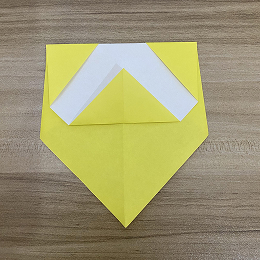
Fold the paper in half by moving the bottom corner backward to meet the top corner.
下の角を後ろに動かして上の角に合わせるように、紙を半分に折ります。
Turn the figure over.
図形を裏返します。
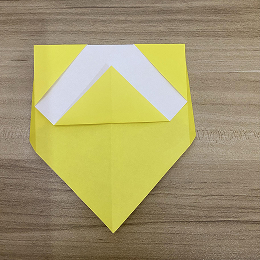
Rotate the figure as shown.
図形を写真のように回転させます
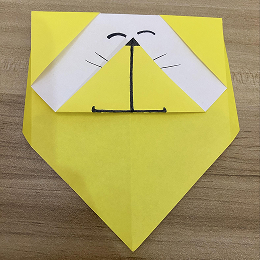
Draw the face, and now you have an origami paper lion!
顔を描いたら、折り紙のライオンの完成です!