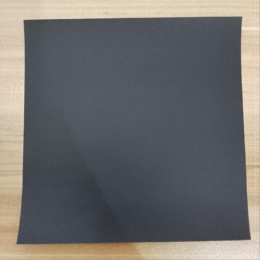
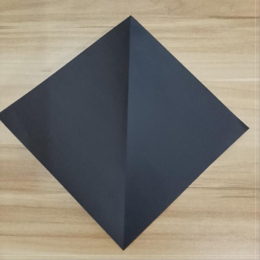
Start with a square piece of origami paper. I am using a 7×7 inches origami sheet.
正方形の折り紙を使い始めます。私は7×7インチの折り紙シートを使っています。
Start with a square piece of origami paper. I am using a 7×7 inches origami sheet.
正方形の折り紙を使い始めます。私は7×7インチの折り紙シートを使っています。
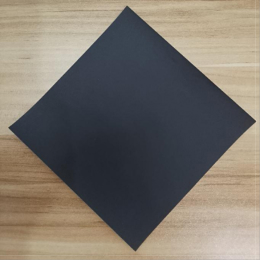
Rotate the sheet by 90°.
シートを90°回転させます。
Let’s create a crease in the center to use as a guideline. Fold the paper in half.
ガイドラインとして使うために、中央に折り目をつけます。紙を半分に折ります。
Unfold.
折り目を広げます.
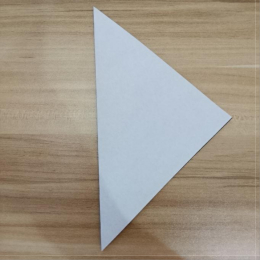
Fold the bottom corner up like this.
下の角をこのように上に折ります。
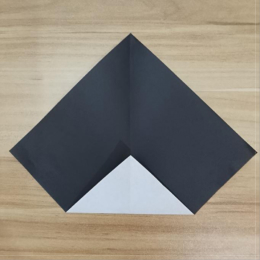
Turn the paper over.
紙を裏返します。
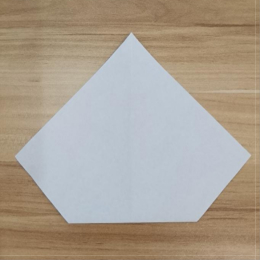
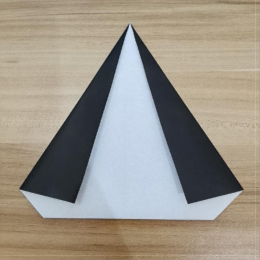
Fold in the right side like this.
右側をこのように折ります。
Fold in the left side like this.
左側をこのように折ります。
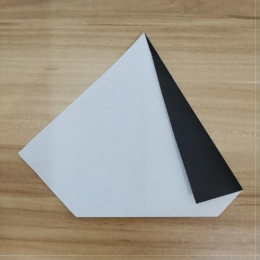
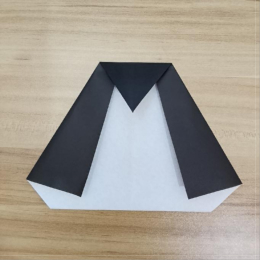
Fold the top point down like this.
上の点をこのように下に折ります。
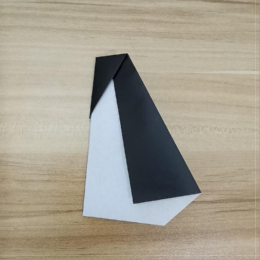
Fold the penguin in half by raising the center crease up and folding the sides back. This is called a mountain fold.
ペンギンを半分に折ります。中央の折り目を上に上げて、両側を後ろに折ります。これを山折りと言います。
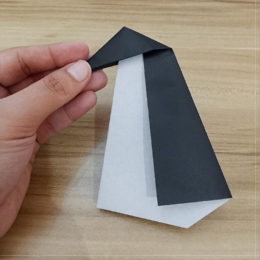
Pull the beak out and flatten the back of the head like this.
くちばしを引き出して、頭の後ろをこのように平らにします。
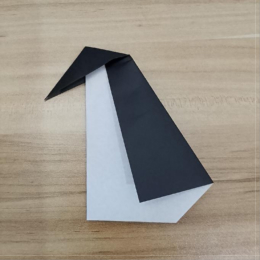
You just made an origami penguin!
あなたは今、折り紙のペンギンを作りました!