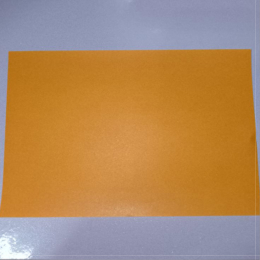
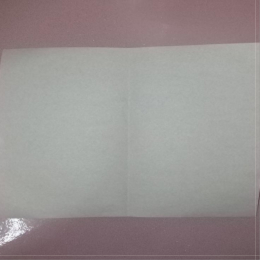
Start with a square piece of origami paper. I am using a 7×7-inch origami paper.
正方形の折り紙を使い始めます。私は7×7インチの折り紙を使用しています。
Start with a square piece of origami paper. I am using a 7×7-inch origami paper.
正方形の折り紙を使い始めます。私は7×7インチの折り紙を使用しています。
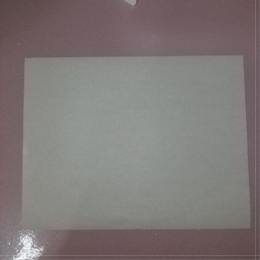
If you are using two-colored origami paper, then face the lighter side upward.
二色の折り紙を使っている場合は、明るい色の面を上に向けてください。
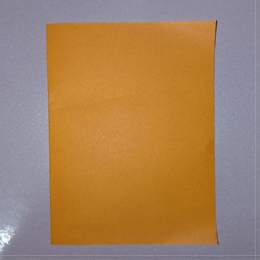
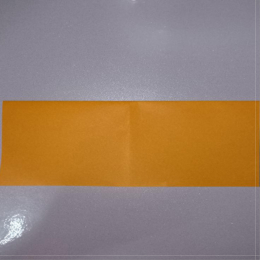
Fold the paper in half by folding the left edge over to the right.
紙を半分に折ります。左の端を右に向けて折りたたんでください。
Unfold.
折り目を戻します。
Fold the paper in half again, but this time fold the top edge to the bottom.
もう一度紙を半分に折りますが、今回は上の端を下に向けて折ってください。
Unfold.
展開する

Tilt the paper.
紙を傾けてください
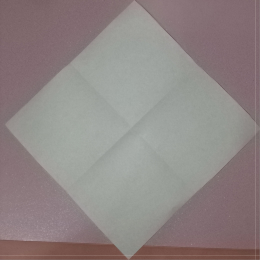
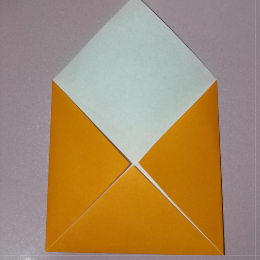
Fold the bottom corner to the center.
下の角を中心に折り曲げてください
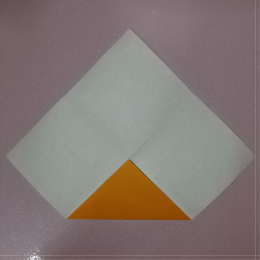
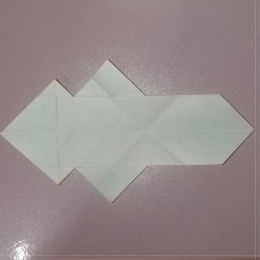
Fold the left and right corners to the center.
左右の角を中心に折り曲げてください.
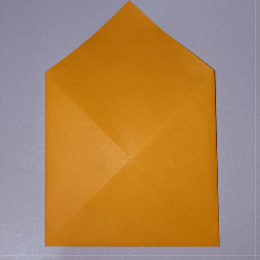
Turn the model over.
モデルを裏返してください
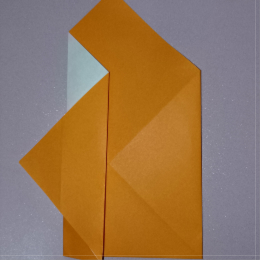
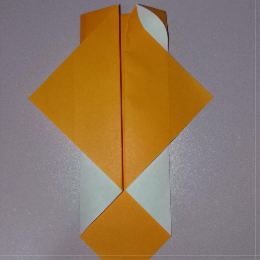
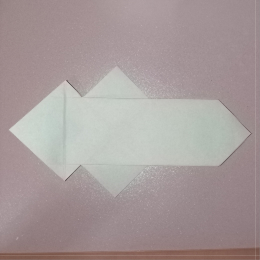
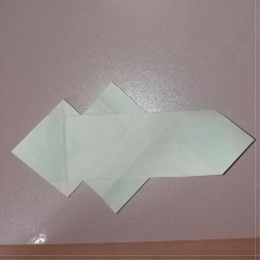
Fold the left edge to the center. Let the flap in the back come out.
左の端を中心に折り曲げてください。裏のフラップを出してください
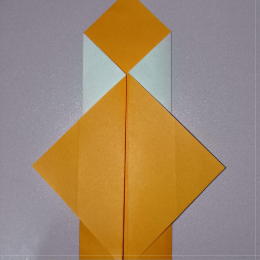
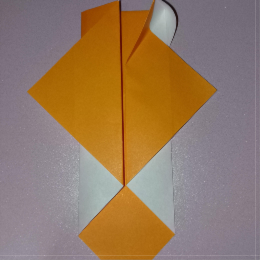
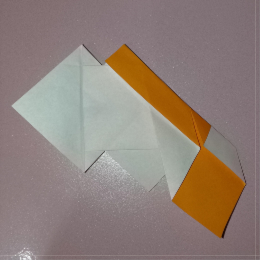
Fold the right edge to the center. Let the flap in the back come out.
右の端を中心に折り曲げてください。裏のフラップを出してください.
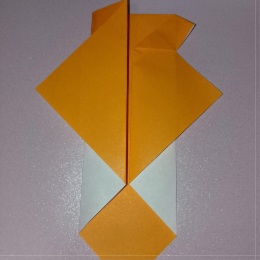
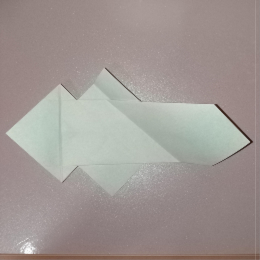
Open the upper right corner.
右上の角を開いてください
Squash to the right (like you see in this picture and the next picture).
右に潰してください(この写真と次の写真のように)
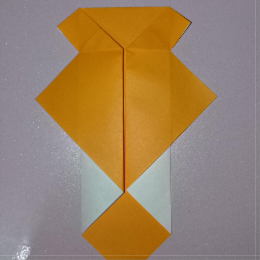
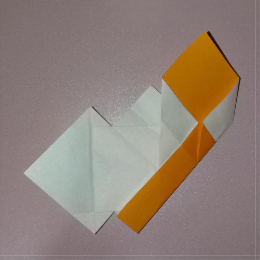
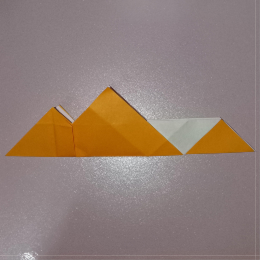
After completely squashing the triangle down, it should look like this.
三角形を完全に潰した後、こうなります.
Repeat the last three steps on the left side too.
左側でも最後の3つの手順を繰り返してください
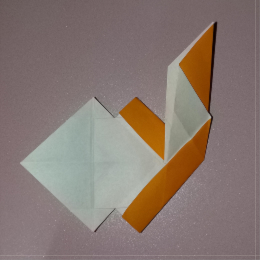
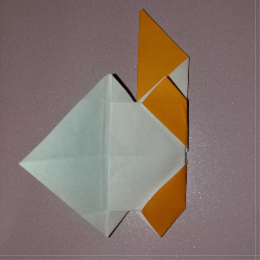
Lift up the flap in the back.
裏のフラップを持ち上げてください

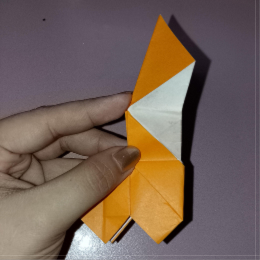
Now fold the top in half.
次に、上を半分に折ってください

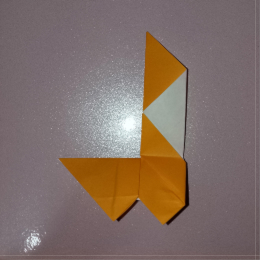
Turn the paper over and tilt it 90° counterclockwise.
紙を裏返して、90°反時計回りに傾けてください
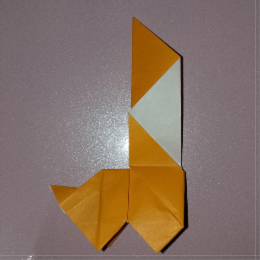
Beginning at the left side of the top triangle, fold the left side in half diagonally. Don’t fold past the crease below it.
上の三角形の左側から始めて、左側を対角線で半分に折り曲げてください。その下の折り目を越えて折らないでください
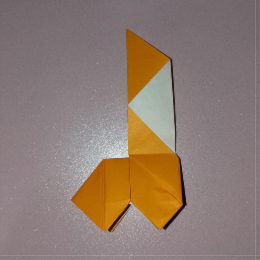
Unfold.
折り戻してください
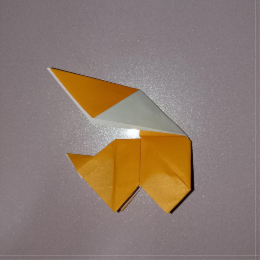
Repeat step 20 for the bottom part.
下の部分についてもステップ20を繰り返してください
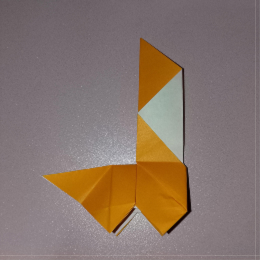
Unfold.
展開してください
Fold the entire figure in half from bottom corner to top corner.
図全体を下の角から上の角へ半分に折ってください
Unfold.
開いてください
Pinch the right side of the figure in half.
図の右側を半分に pinch してください

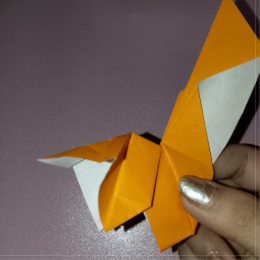
Now lift the part you pinched and bend the flap upwards.
今、ピンチした部分を持ち上げて、フラップを上に折り曲げてください
Take the whole flap and bend it back.
フラップ全体を取って、後ろに折り返してください
Hold the flap and you'll see the visible crease in the center of the triangle.
フラップを持って、三角形の中心に見える折り目を確認してください

Fold down the top triangle flap using the mid crease as a guide.
中央の折り目をガイドにして、上の三角形のフラップを下に折り曲げてください
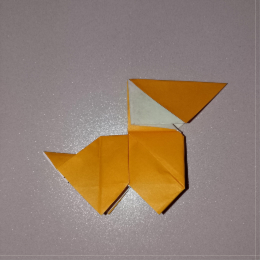
Let’s work on the tail. Fold down the tail like in the picture.
尾の部分を作りましょう。写真のように尾を下に折り曲げてください
Unfold.
展開してください
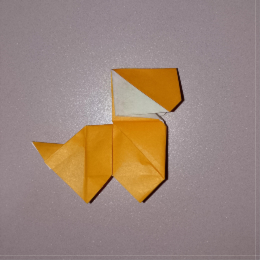
Now do an inside reverse fold to make the tail. Basically, open the rear a little.
今、尾を作るために内側に逆折りをしてください。基本的に、後ろを少し開いてください

Bend the tail flap down at the crease. Curve the tip up.
尾のフラップを折り目で下に折り曲げてください。先端を上にカーブさせてください
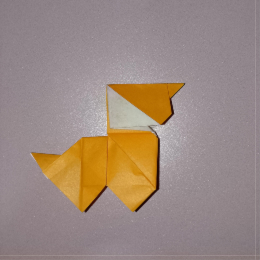
Close the rear, creasing the tail.
尾を折りたたんで後ろを閉じてください
Fold the top flap to the left.
上のフラップを左に折り曲げてください
Unfold, and fold it behind. This is so we can get a good crease.
展開して、後ろに折り返してください。これは良い折り目をつけるためです

Bring the top flap to the original position.
上のフラップを元の位置に戻してください

Open the top flap at the crease and bend down the top.
上のフラップを折り目で開き、上部分を下に折り曲げてください
Bend the top down and crease the sides of the flap to form the head.
上を下に折り曲げ、フラップの両側を折って頭を作ってください
Open the head and bend parts of the triangle in.
頭を開いて、三角形の一部を内側に折り曲げてください
Bend another part out, then close.
別の部分を外に折り曲げてから、閉じてください
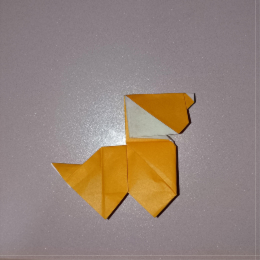
Make the nose with an outside reverse fold. Open the muzzle and curl the corner up, then close. You’re done!
外側逆折りで鼻を作ってください。鼻先を開いて、角を上にカールさせてから、閉じてください。完成です!